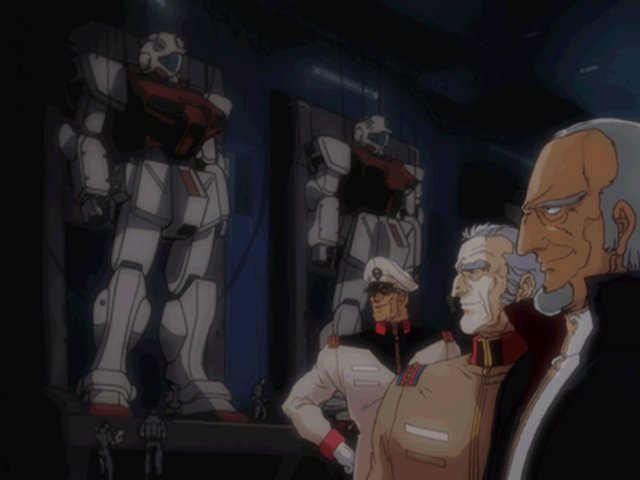
Welcome to the Zeon campaign! If you’re new to my playthroughs, I keep the focus on story rather than gameplay (I am admittedly terrible at these sorts of games and lean on the money cheat to get through efficiently). As the series is called Gihren’s Greed, the Zeon campaign is the one I imagine most think of when they hear the name. It’s a what-if scenario I’m sure many people who have watched the original Gundam anime have considered – what would have happened if Zeon had won the One Year War? Let’s explore one possibility…
Part 1: One Year War
As with every scenario in this version of Gihren’s Greed, the Zeon campaign opens with a slideshow-style cutscene to introduce the faction and their current situation.
Universal Century 0079, January 3rd
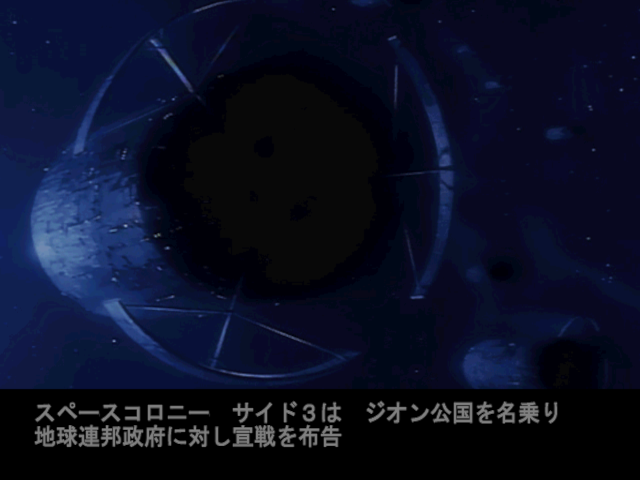
Proclaiming itself the Principality of Zeon, space colony Side 3 declares war on the Earth Federation government.
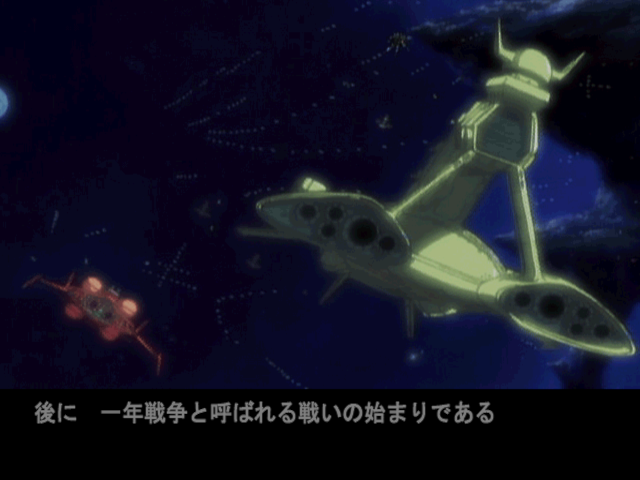
This was the beginning of what would later be known as the One Year War.
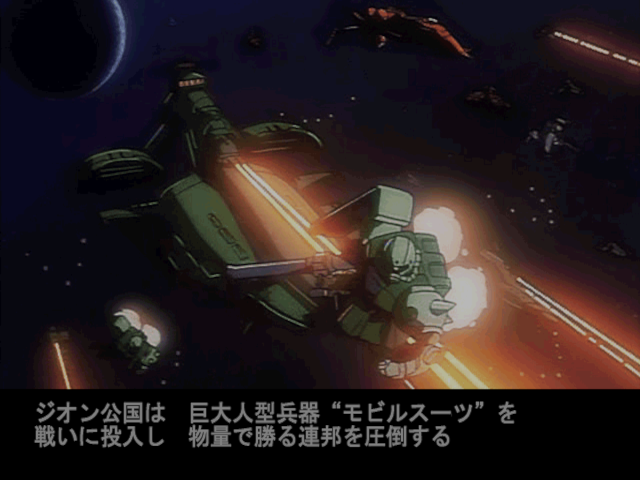
The Principality of Zeon deploys giant humanoid weapons known as “Mobile Suits” into battle, overwhelming the Federation, who have superior numbers.
Within a mere 40 hours of the outbreak of the war, three Sides had been annihilated, with 2.8 billion lives lost…
However, this horrific massacre was merely a prelude to Zeon’s true objective.
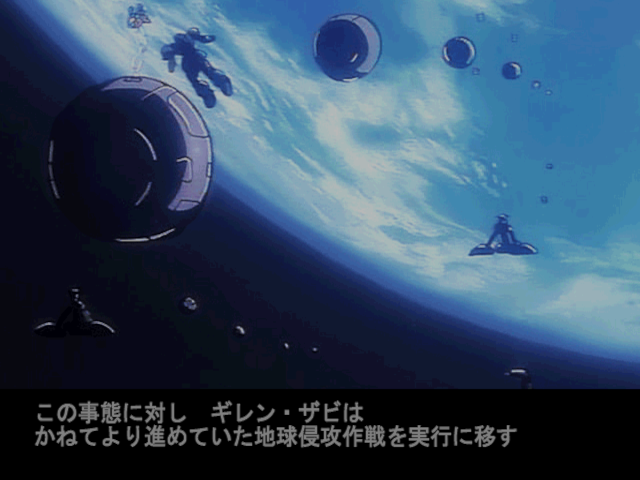
Zeon put an unprecedented plan into action…
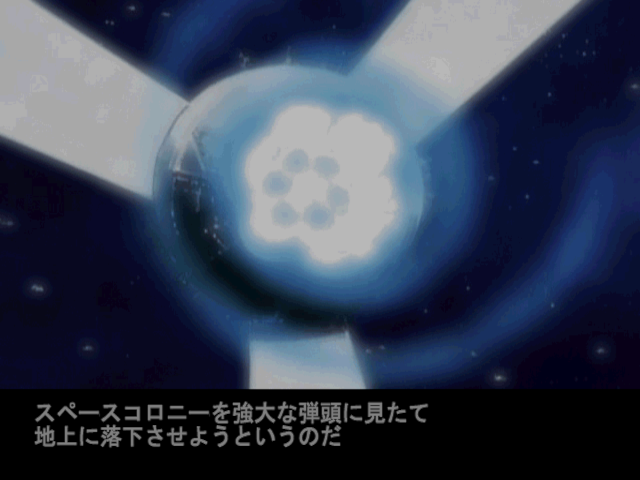
Their plan is to treat the space colony as a powerful warhead and launch it towards the Earth’s surface.
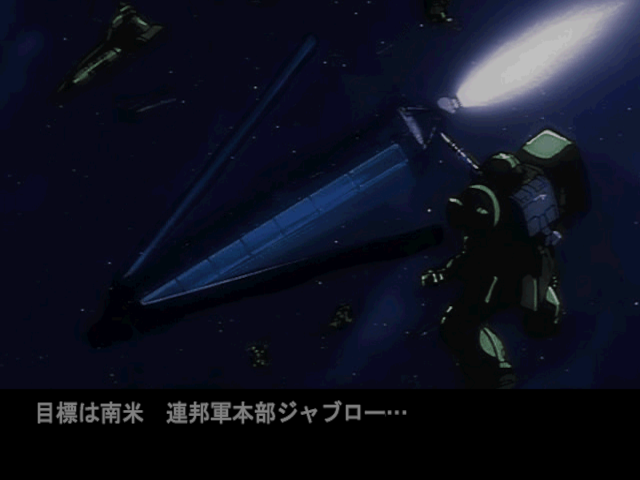
The target is the Federation Army headquarters at Jaburo in South America…
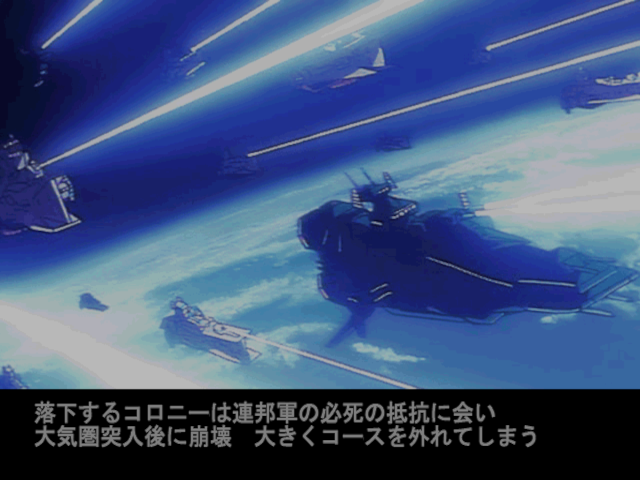
The falling colony met with desperate resistance from the Federation forces, breaking apart after entering the atmosphere and going way off course.
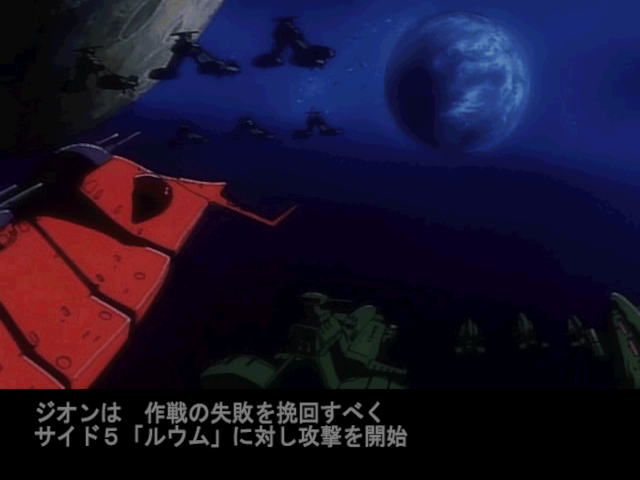
In order to recover from the failure of their operation, Zeon commences an attack on Side 5, “Loum.”
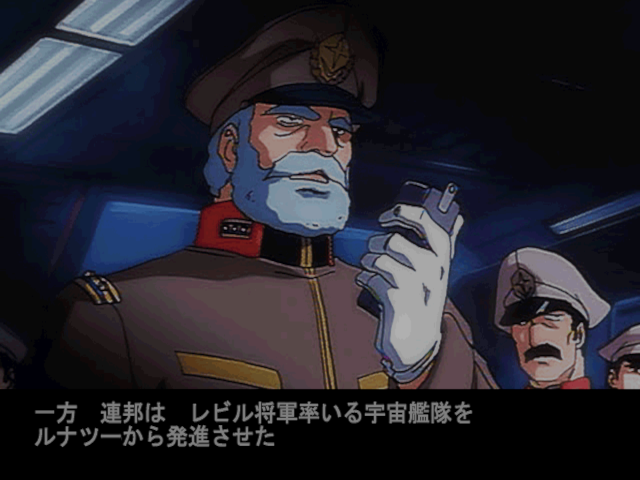
Meanwhile, the Federation had launched a space fleet from Luna II led by General Revil.
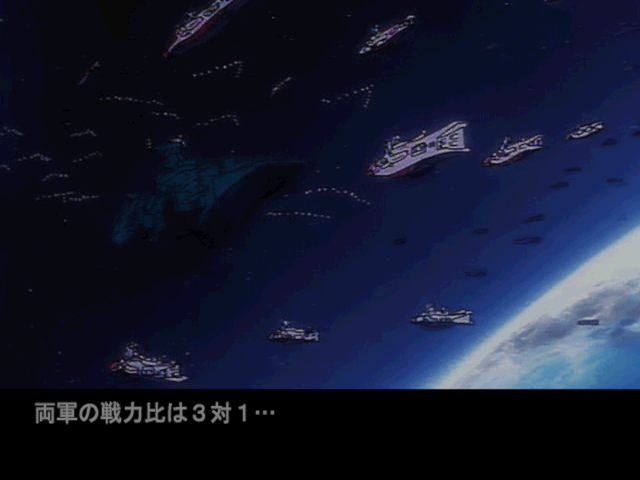
The ratio of forces between the two armies is 3 to 1…
The Federation forces were overwhelmingly superior.
However, this battle ended with an overwhelming victory for Zeon.

Faced with the might of the mobile suits, the Federation fleet is wiped out without being able to do anything.
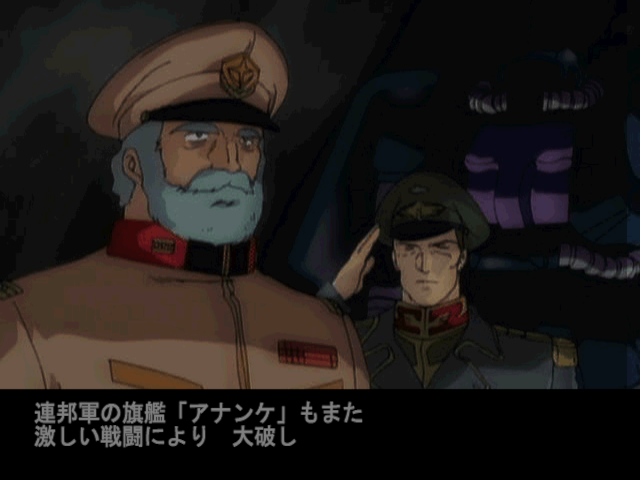
The Federation’s flagship, the Ananke, was also heavily damaged in the fierce battle.
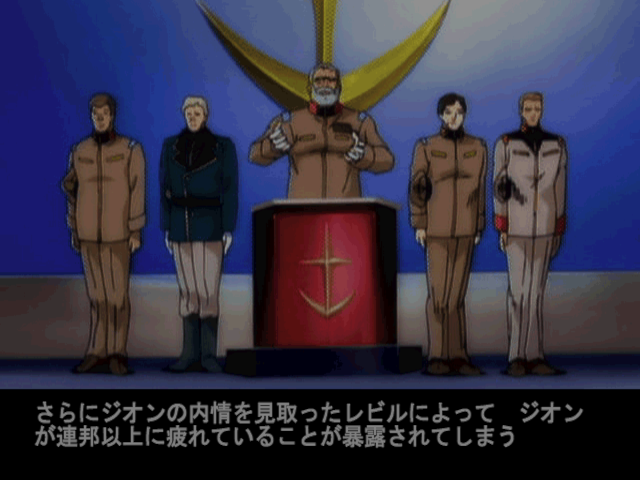
General Revil, who tried to escape, was taken prisoner by Zeon as well.
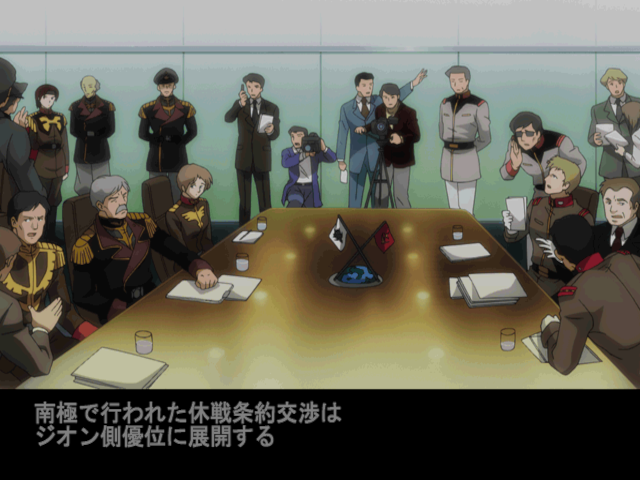
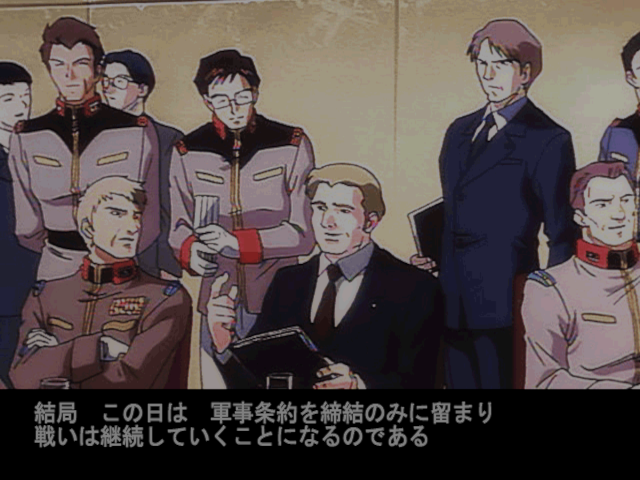
Armed with the glorious results of the battle at Loum, the Zeon government proposes a ceasefire treaty with the Federation Government.
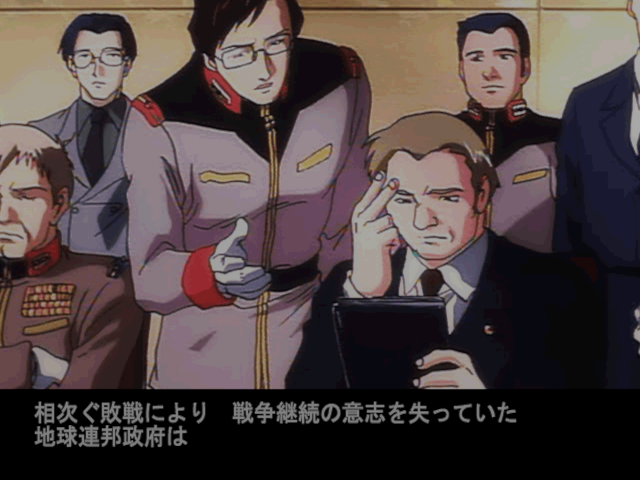
The defeated and exhausted Federation no longer seemed able to refuse.
text
text
text
text
text
Gihren, Cecilia (his secretary/mistress) and Dozle discuss the planned invasion. Cecilia also serves as the main assistant and person who gives you tech updates in this campaign.
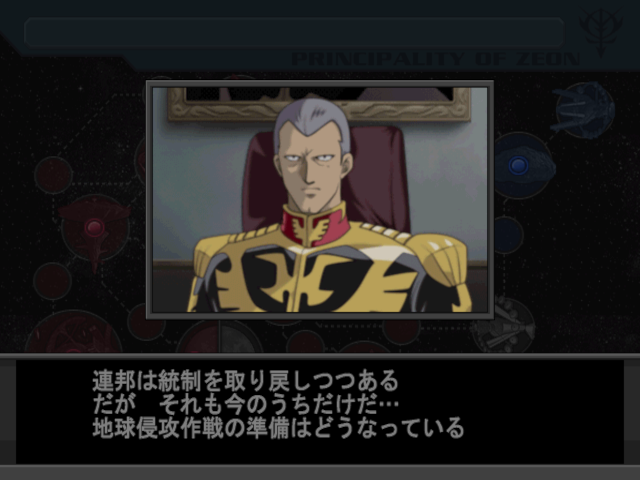
Gihren:
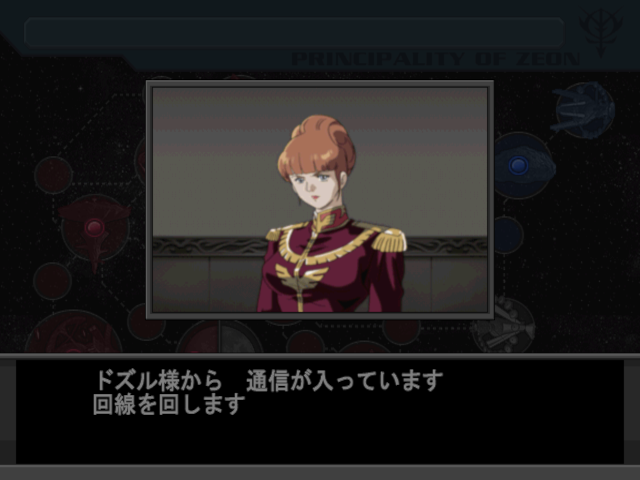
Cecilia: We’re receiving a transmission from Dozle-sama. I’ll patch him through.
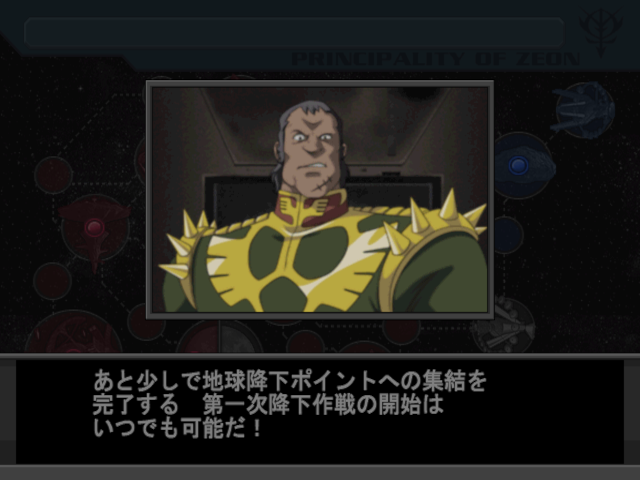
Dozle:
Here’s the starting maps of space and Earth. Areas in red are controlled by Zeon, blue are controlled by the Federation, and gray are neutral. Yellow dots indicate approximately how many of our units are on each area. Those with solid circles in the middle are bases.
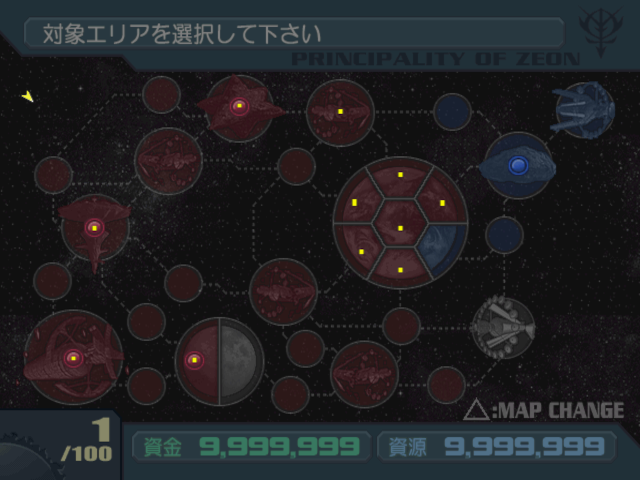
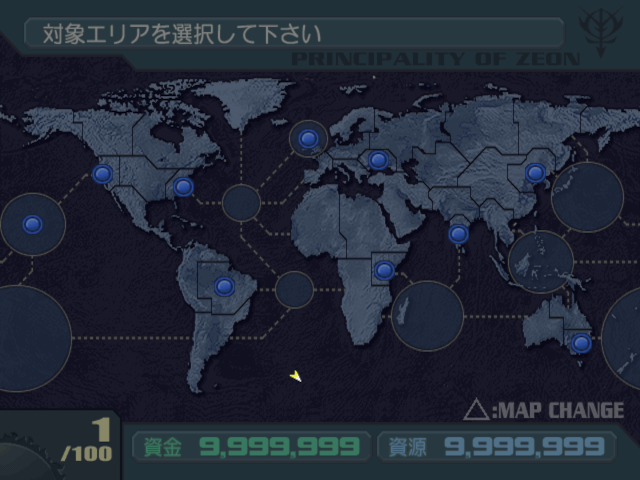
The strategy at the start is to barricade the Federation forces in space at Luna II, and begin the invasion of Earth by capturing the base at Odessa.
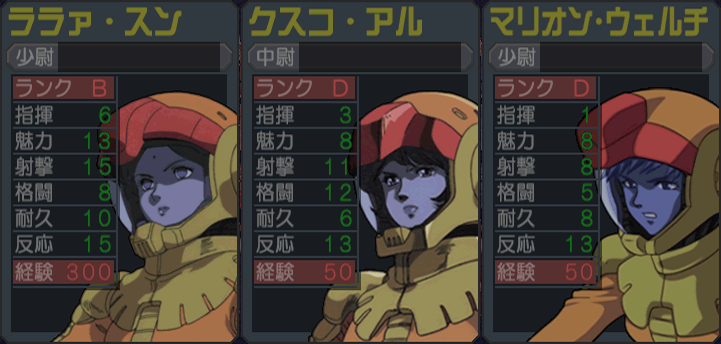
First, let’s check out some of our pilots and commanders. We have many more at our disposal this time compared to the Federation campaign (and this isn’t anywhere near comprehensive).
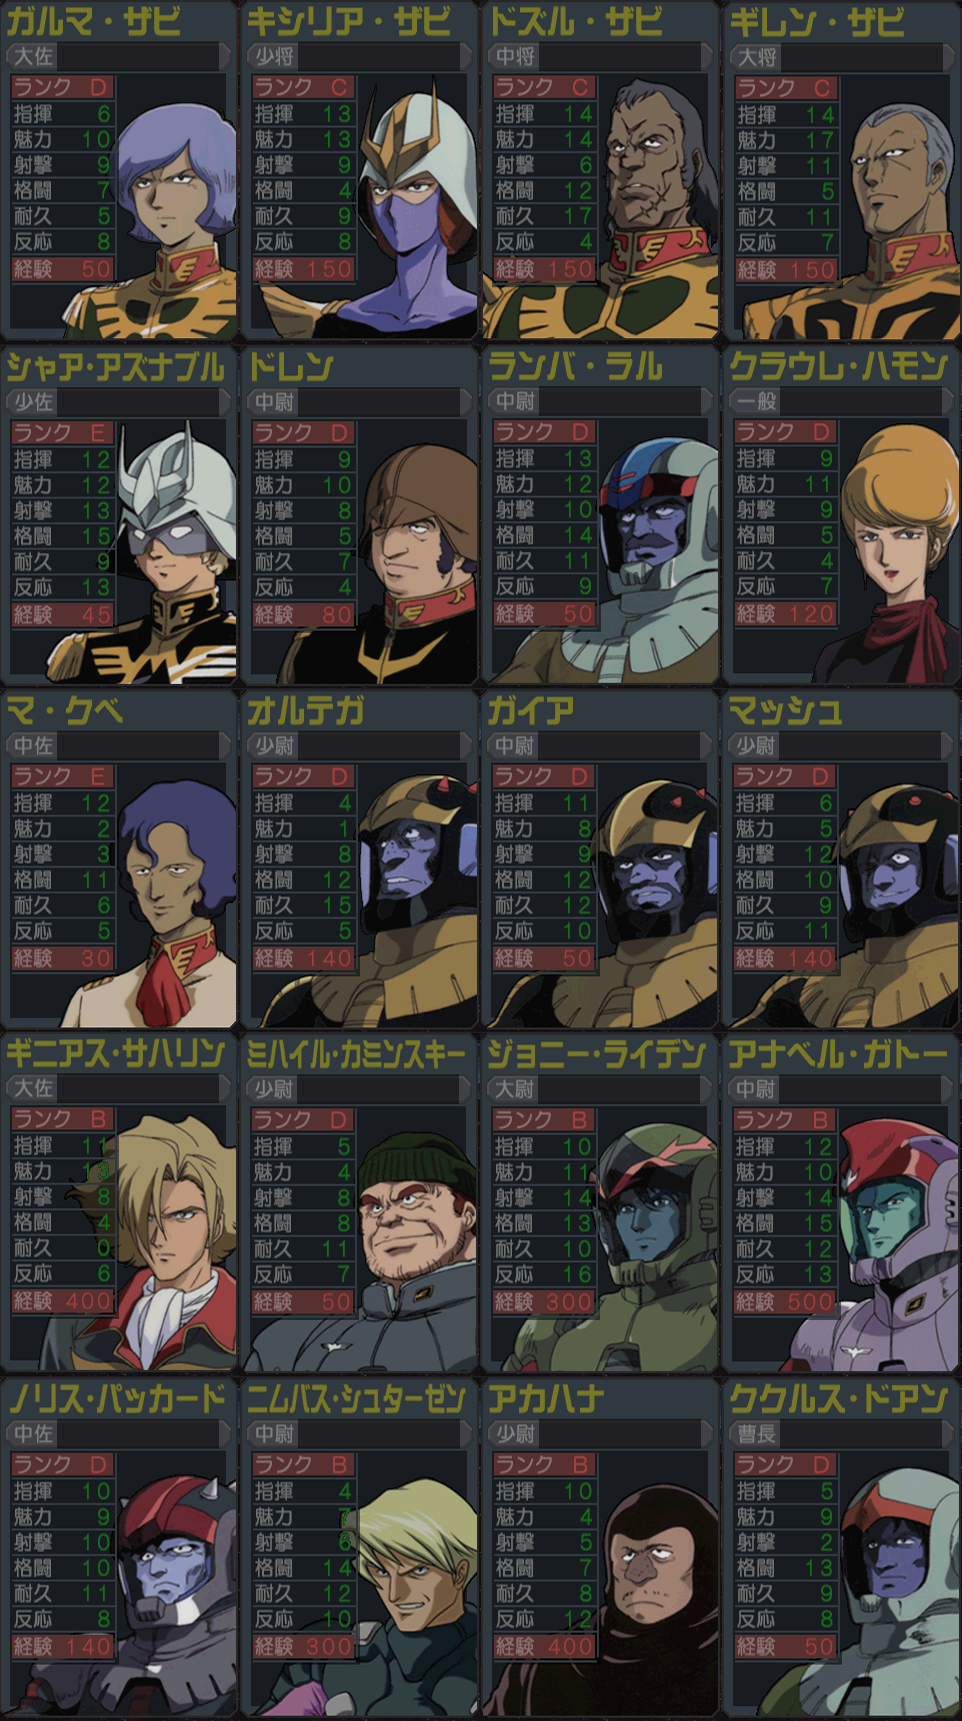
Right away, we’re given the option to attack Odessa, which starts a quick cutscene.
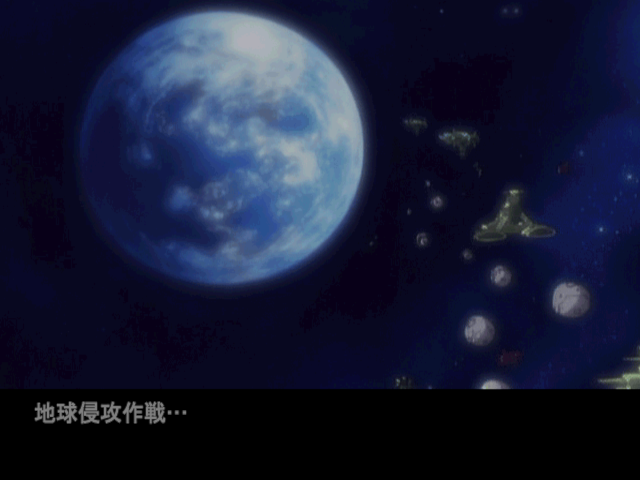
tex
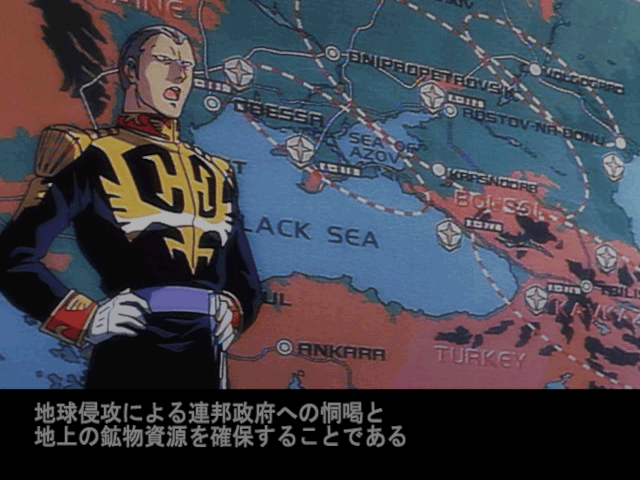
tex
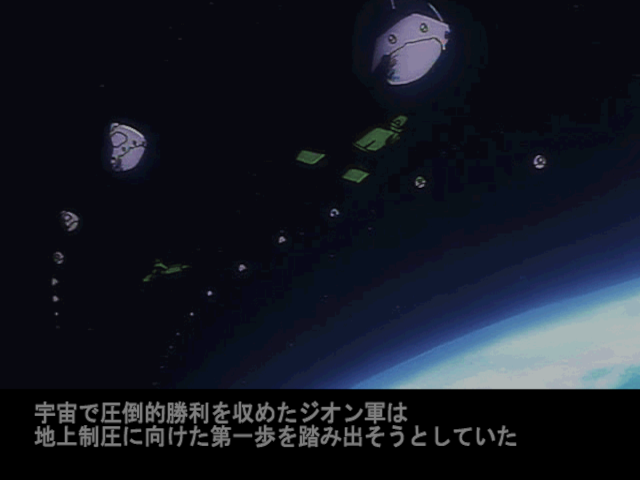
text
In addition, we decided to take the territory on either side of Luna II, and send additional troops to the American Midwest in preparation for the operations that follow. Like in the Federation campaign, we are barred from attacking certain enemy bases until the corresponding operation plan is available to activate.
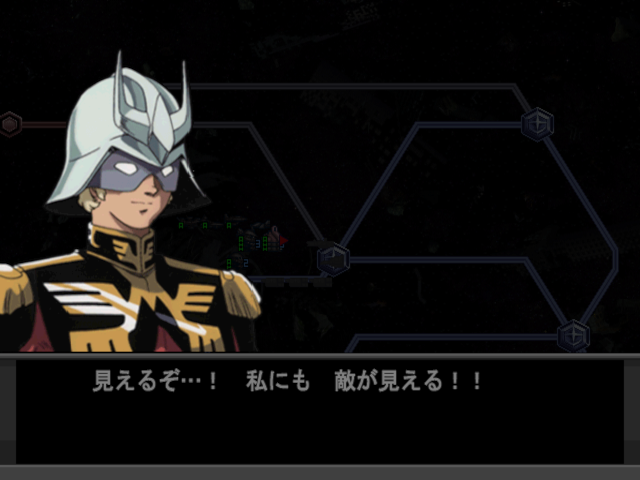
Char: I can see them…! I can see the enemy too!!
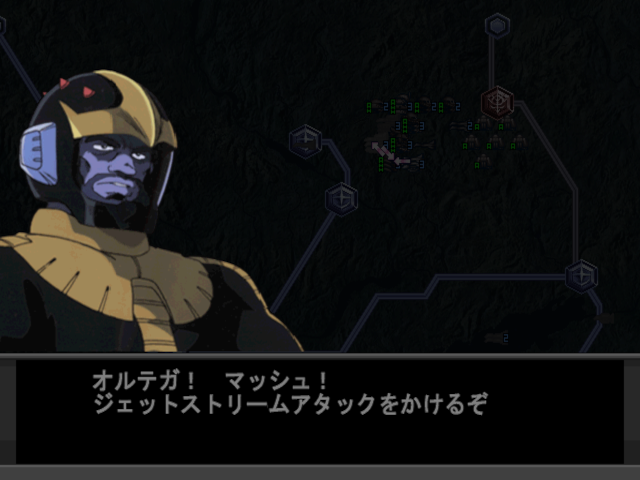
Gaia: Ortega! Mash! Use the jet stream attack!
text
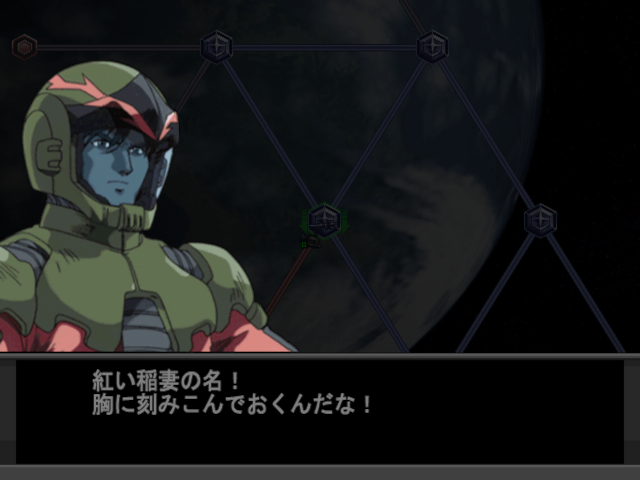
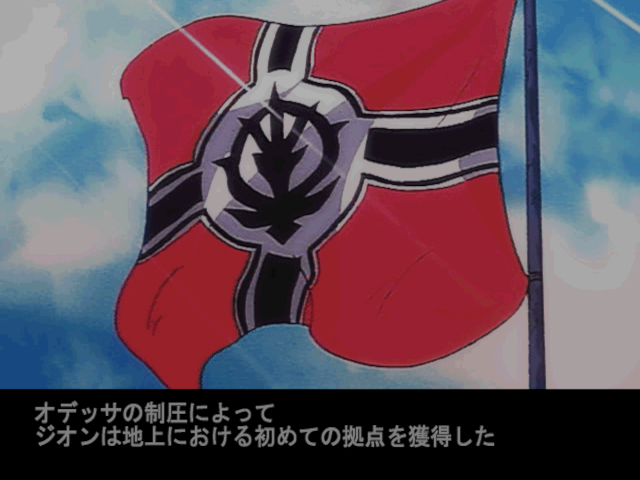
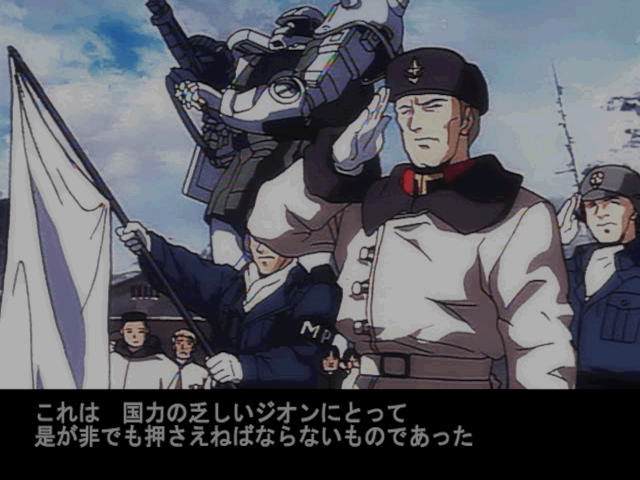
Capturing Odessa gives us our first base on Earth, allowing us to directly construct units there and not have to worry about sending them all down through the atmosphere. The operation itself is a breeze since Zeon easily exceeds the Federation in tech at this point.
text
text
text
Zeon Officer:
Gihren:
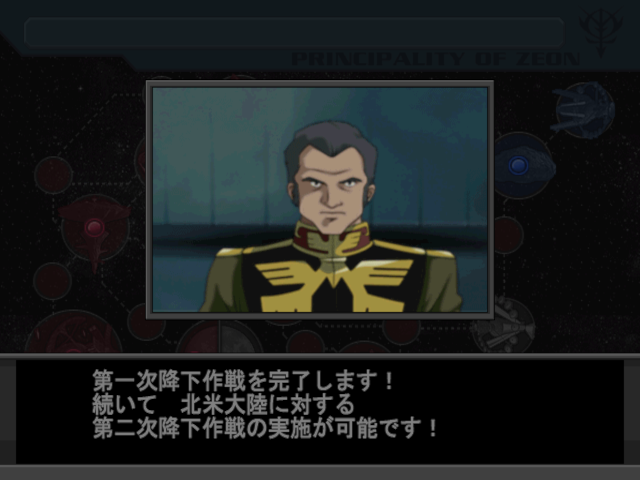
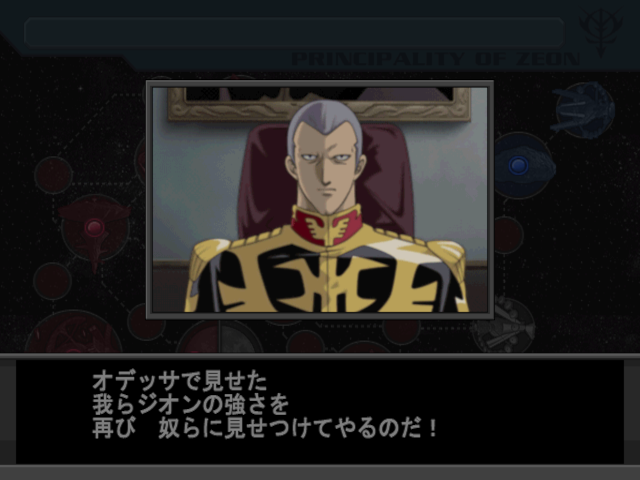
The next two operations are to attack both New York and California. As far as I can tell, it doesn’t matter which order you choose to attack them. This is why we stationed some troops in the Midwest, as there isn’t a direct line from Odessa to North America yet.
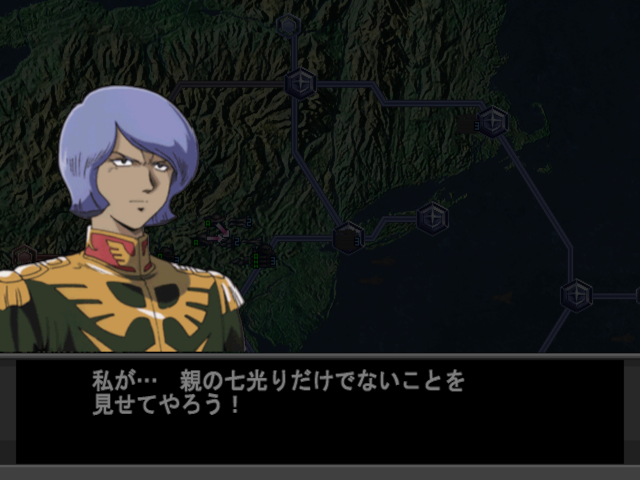
Garma: I’ll show you that I’m not just riding my family’s coattails!
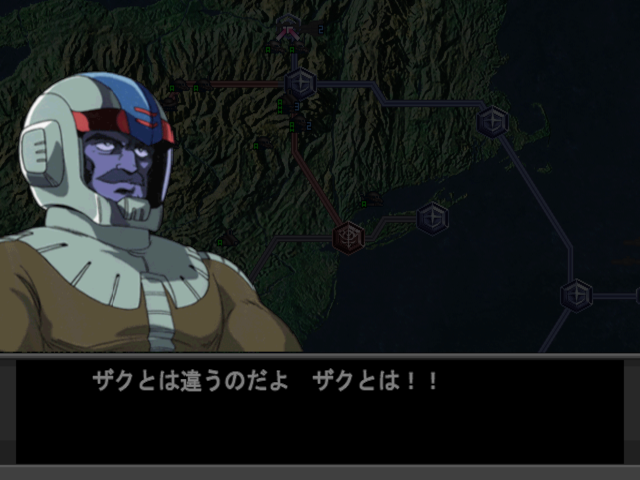
Ramba Ral: That’s no Zaku boy, no Zaku!!
Around this point, we get the first of many MS IGLOO related events.
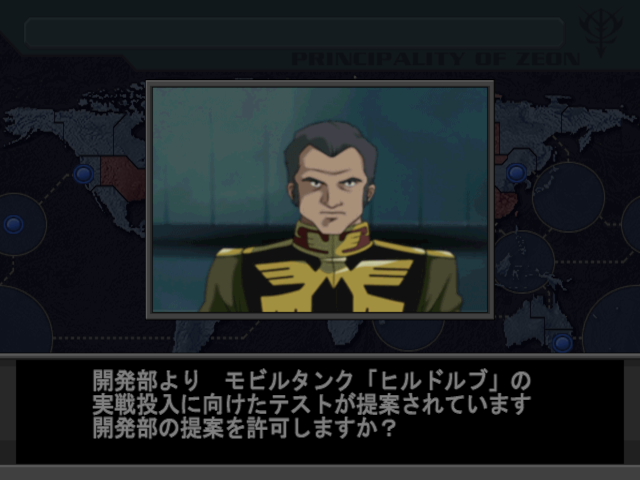
In this first event, we are asked if we want to test the Hildolfr, an experimental mobile tank.
ttt
If we agree, Demeziere Sonnen is assigned to test pilot it, and later we receive a report of his death. However, you’ll receive plans to build the Hildolfr in return. This similar pattern continues for the Zudah and Ze’Gok. It comes down to whether or not you want to sacrifice a pilot in exchange for a new unit to build.
An interesting interaction I found by complete accident during this time was between Paolo Cassius, White Base’s original captain, and Char. (I’ll be more diligent about finding these later)
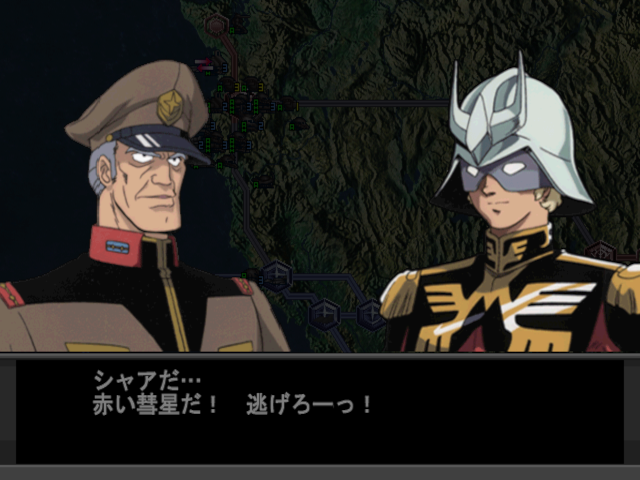
Paolo: It’s Char… It’s the Red Comet! Run away!
Char: It’s not my nature to attack a fleeing enemy, but… I have no choice!
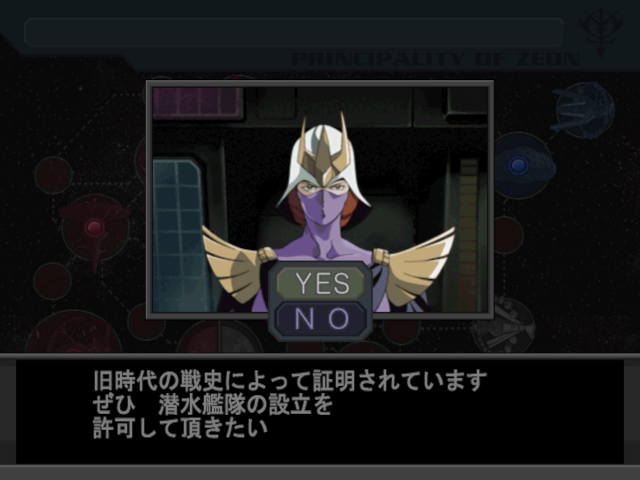
After capturing the base in California, we are given the option to research the Jukon-class submarine. Once completed, Kycilia contacts us. Now that we have a useful coastal base and a submarine that can carry MS, Kycilia wants to create a submarine force to help Zeon achieve dominance in Earth’s oceans.
tttt
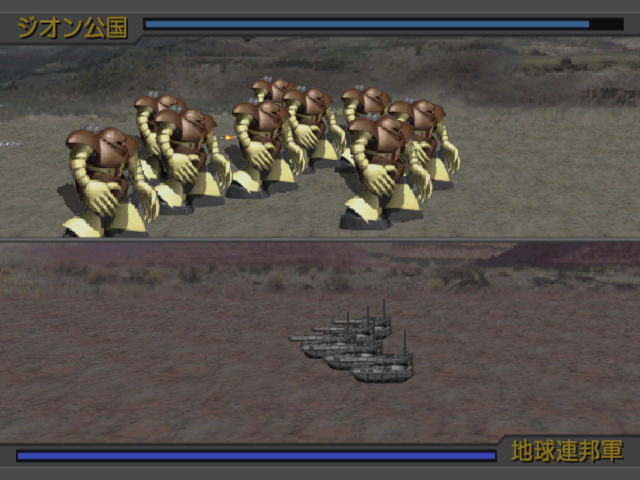
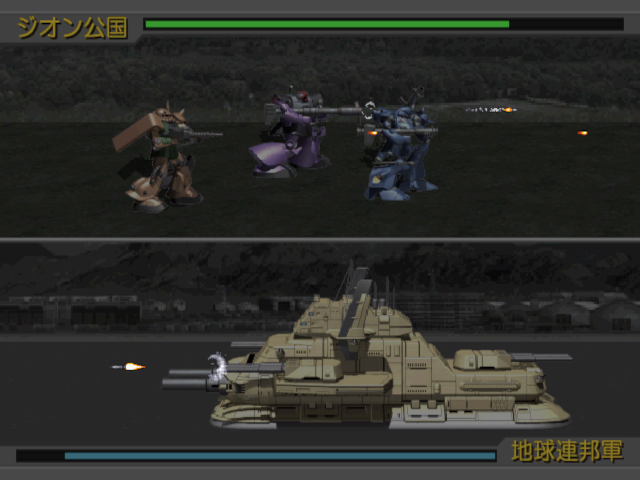
This comes at a perfect time, as our next operation involves the capture of Hawaii. Nothing too special here, although it’s a good opportunity to show off the battle screen. Your units and their health bar are on top, and the enemies are on the bottom.
The next base to capture is Kilimanjaro in Africa. Once complete, many new events appear, including those related to the anime plot line.
iiiiii
sfdsfdsfsd
dasdsad
dfsdfds
The first is for the development of Jaburo Invasion MS. These are more advanced aquatic MS prototypes than what we currently have, such as the Agguguy and Juagg. Thankfully you don’t have to initiate the early Jaburo capture plan to develop them (I’ll discuss that when we get to it).
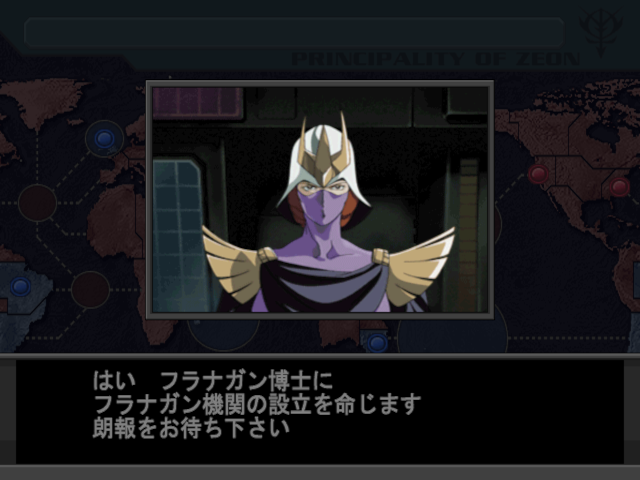
The other proposal comes from Kycilia, who wants to establish the Flanagan Institute for the purpose of researching Newtypes. This will allow us to obtain Newtype pilots and Newtype use mobile armors, which will be extremely useful later.
tttttt
Finally, we unlock the operation plans to attack the Federation bases in Australia and China.
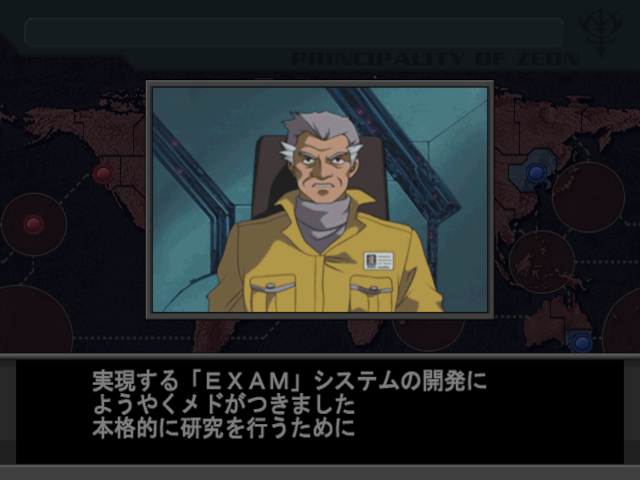
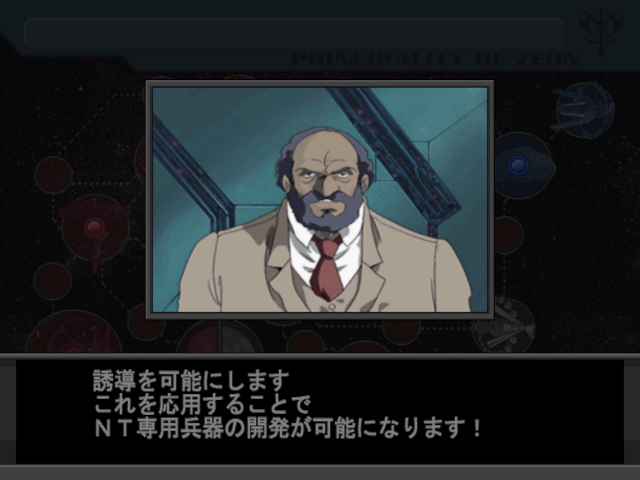
Since we agreed on researching Newtypes, we are now contacted by a man named Chlust Moses. He wants to create something called the EXAM System. Its purpose is to allow Oldtype pilots to fight like their Newtype counterparts.
pppppppp
However, to do so he needs the assistance of a Newtype pilot, specifically Marion Welch. This doesn’t sit well with Dr. Flanagan who doesn’t want to release one of his Newtypes to be used in such a way. The choice is ours to decide who to support.
tttttt
Siding with Chlust Moses will allow us to develop the Efreet Custom, however we won’t be able to recruit Marion later. Siding with Dr. Flanagan will allow us to use her once she and her fellow Newtype pilots are ready for combat. We decide to go with Flanagan, as having an additional pilot is far more beneficial than an MS that will eventually be outclassed.
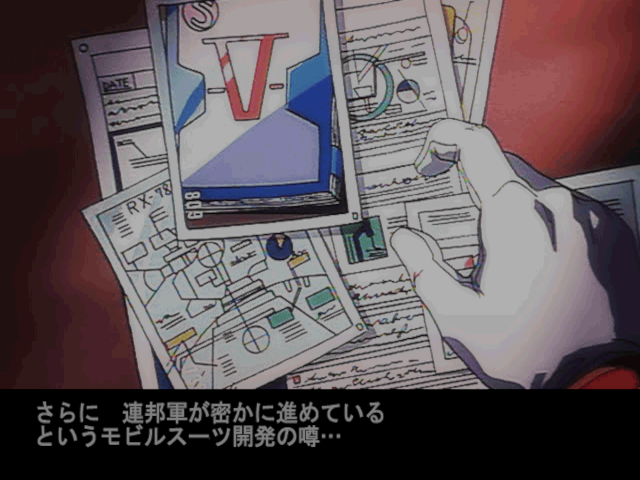
As we progress in attacking Australia and China, the start of the anime-based events begins. Dozle suspects the Federation has something going on related to Operation V at Side 7, and asks to let us send Char and his team to investigate.
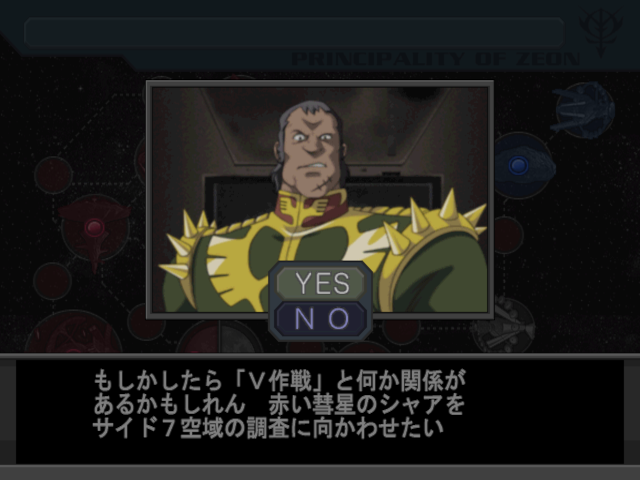
wwww
Choice: YES
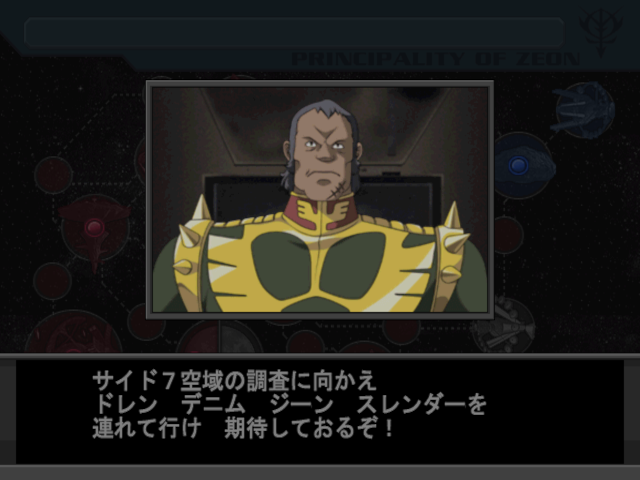
wwwwww
Whether you say yes or no, apparently they go anyway. Char takes Denim, Gene, and Slender along for the mission.
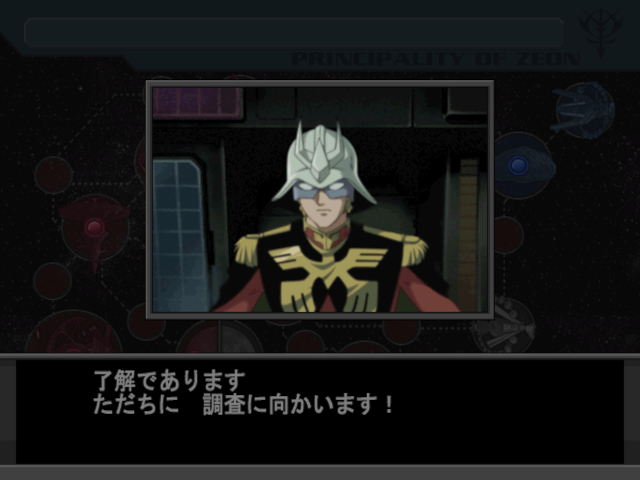
Char: Understood, I’ll start investigating immediately!
Meanwhile, we can now activate the United Maintenance Plan (UMP). Proposed by M’Quve, it was created to rectify the lack of standardization among Zeon’s mobile suit parts and production lines. This also leads to the development of new upgraded versions of existing units, like the Zaku II Kai, Rick Dom II, and Hygogg.
Speaking of new units, because we’ve invested in researching Newtypes, we receive plans for the Braw Bro and Psycommu System Zaku. We also meet the first of our Newtype pilots, Challia Bull. He has a rather interesting conversation with Gihren where we get a taste of some of the distrust between the Zabi siblings.
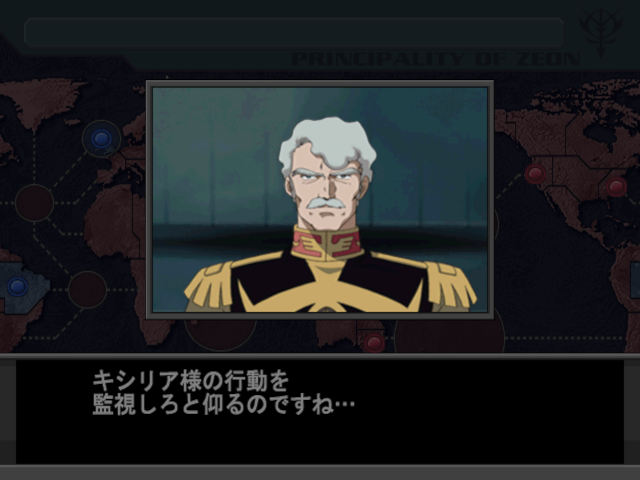
Gihren:
Challia Bull: “You’re asking me to monitor Kycilia-sama’s actions…”
Gihren:
Challia:
Gihren:
Once the bases in China and Australia belong to Zeon, the next is India. At this point we also get the option to approve the construction of a weapon known as the Solar Ray, a massive laser cannon made from a space colony. Constructing it is a good idea regardless, though the real test will be later when we decide where (and who) to shoot it at.
By now, Char has returned from Side 7. The report is grim… three Zakus were destroyed by a mysterious white mobile suit.
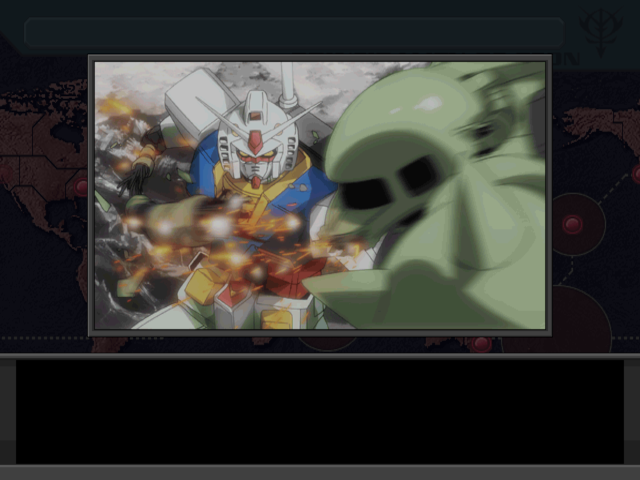
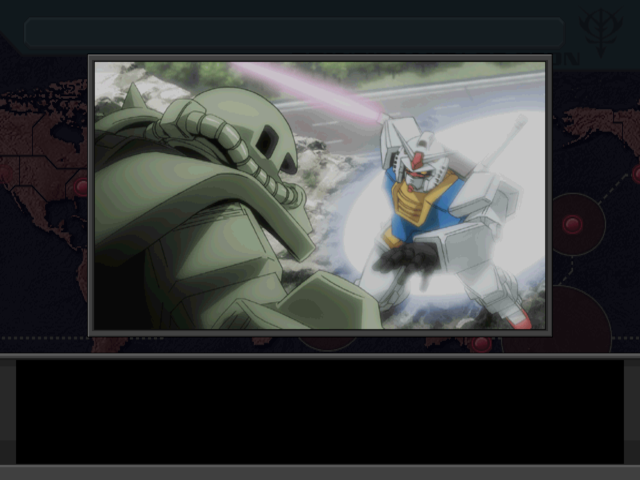
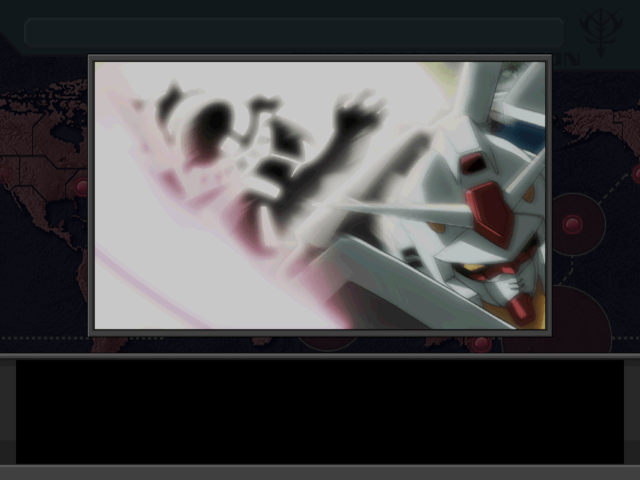
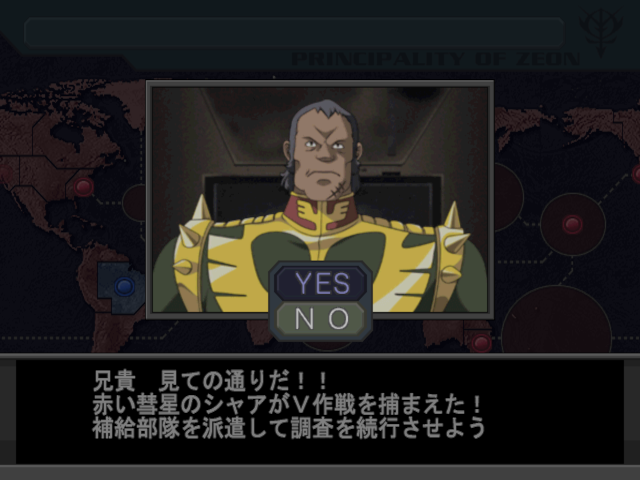
Char is currently in pursuit of the ship carrying this new mobile suit, however he is running low on supplies. Dozle asks us to resupply him – and what you choose here can either keep you on the anime-canon path, or start the process of changing history.
yuuu
Choosing to resupply Char will allow him to chase the White Base down to Earth. There he will meet up with Garma, and the events leading to Garma’s death will follow.
Choosing to NOT resupply Char is interesting. White Base will still arrive on Earth, but he will not be able to pursue them there, and thus will never meet up with Garma. Interestingly, the pilots of the three Zakus on Side 7 will also somehow survive.
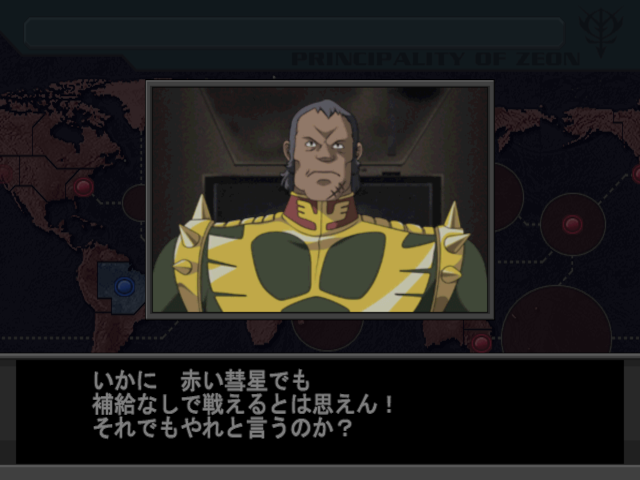
Dozle: I don’t think that even the Red Comet can fight without supplies! Are you still telling him to do it anyway?
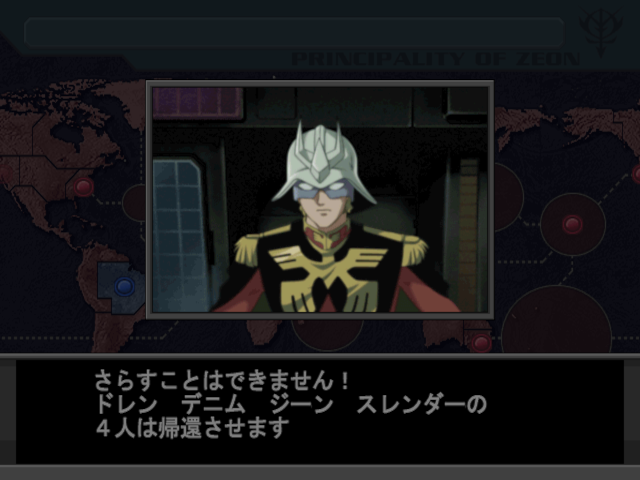
uuuuuuuuuu
Anyways, sorry Char, I need to save Garma. Dozle isn’t happy about it, but I can’t really blame him. After all, how would he know we just saved his younger brother’s life?
A few turns later, Dozle calls us to report that Char has gone missing, as the lack of resupply meant that the White Base was able to fend him off and he had to retreat.
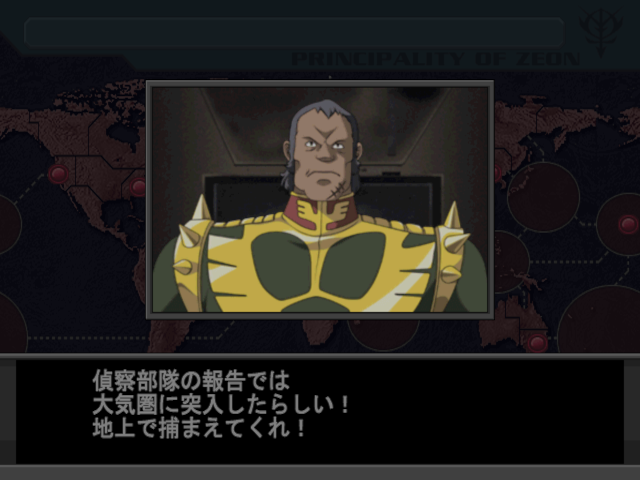
rrrrrrrrrrrrrrr
Garma pops in to reassure us that he can handle it, even without Char’s help.
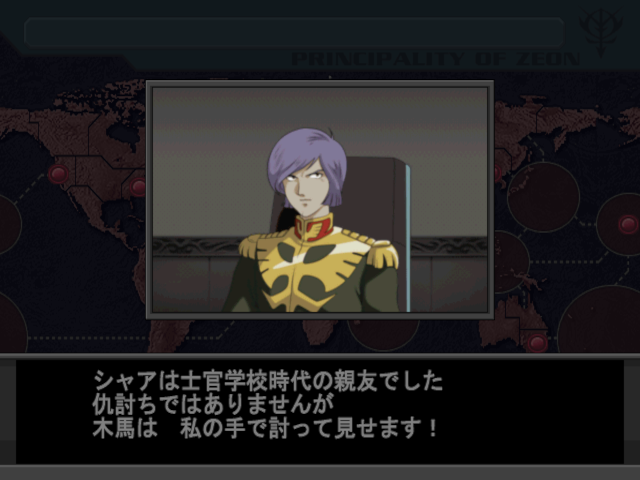
Garma:
In the meantime, the 08th MS Team series of events kicks off. I’ll just go ahead and summarize the entire chain here. This revolves around the Apsaras project. Choosing to fund the project will allow you to develop the Apsaras I. We can then choose to send Aina and Norris for further research and develop Apsaras II. If you continue the chain to research III, Aina will disappear and her brother Ginias dies.
Speaking of pilots, the rest of the Newtype squad from the Flanagan Institute has joined us, and we can now build the Elmeth for them to use.
Unfortunately, we get some bad news. Garma calls to say that his forces have been defeated by the White Base, and he’s out of commission for a while. Crucially though, he’s still alive.
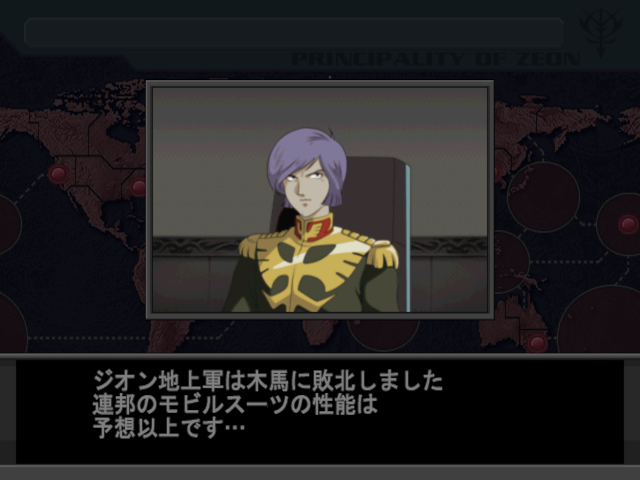
Garma: The Zeon ground forces were defeated by the Trojan Horse. The performance of the Federation’s mobile suits exceeded expectations…
The good news is if we want to end the One Year War right now, we have an option to do so. Since we approved the development of the Jaburo Invasion MS, we can launch an offensive against the Federation’s headquarters in Jaburo right now. The drawback is that we can ONLY use those special MS in combat, with no support from anything else.
We’ll be ignoring it for this playthrough, but it is an option for those who want to end the war early, as the sooner you defeat the Federation as Zeon, the larger the tech and resource bonus you’ll get in the next part of the campaign.
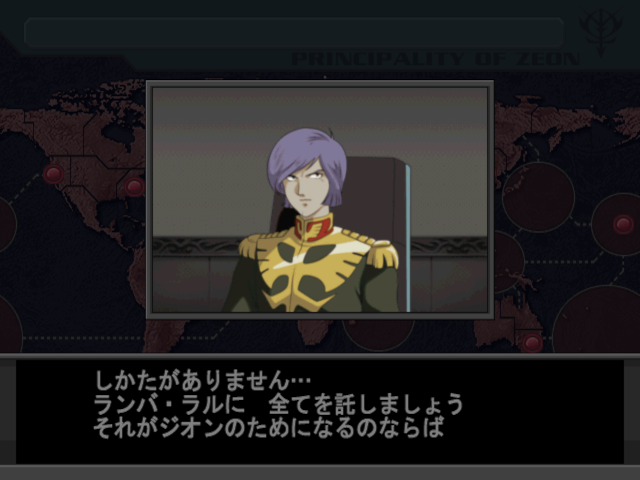
Now that some turns have passed, Garma reappears. He’s suffered a pretty crushing loss against the White Base and wants to get back at them as a matter of pride.
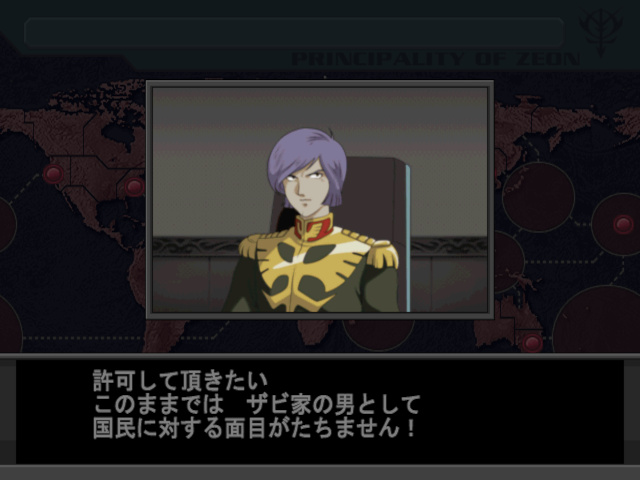
Garma: I would like your permission. If things continue like this, as a man of the Zabi family, I will lose the respect of the people!
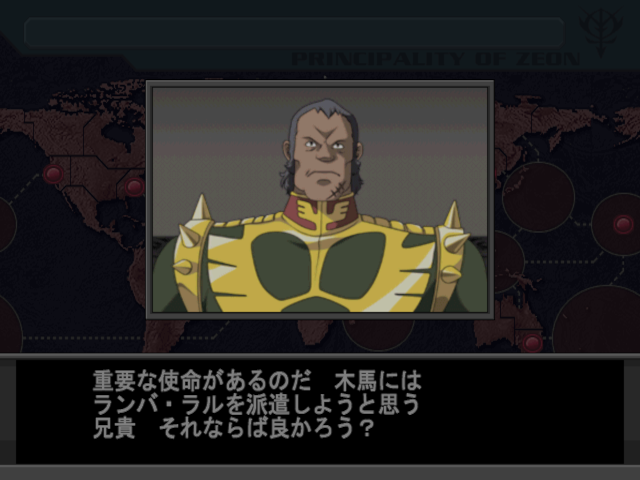
Despite Garma surviving in this timeline, Dozle is still upset that his dear little brother was hurt at all, and asks for permission to send Ramba Ral and his team after the White Base instead.
pppppppp
pppppppppp
Garma reluctantly agrees with his older brother, but we can now use him as a pilot once more if we wish. Also, as an added note, Kycilia calls right after this to let us know Char has reappeared in Granada, and thus is once again available to us too. I wonder what he’s been doing…
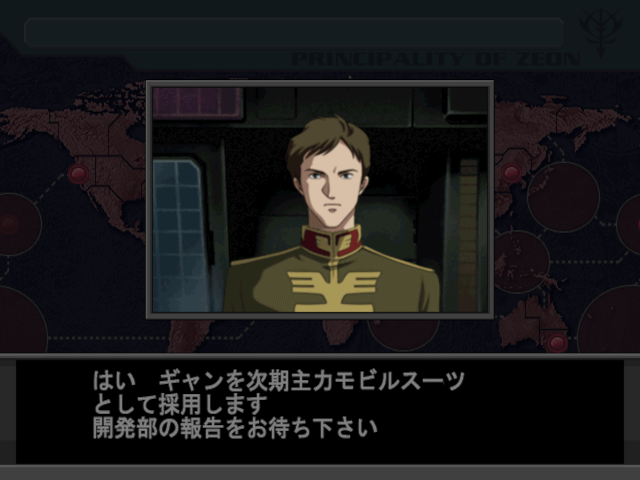
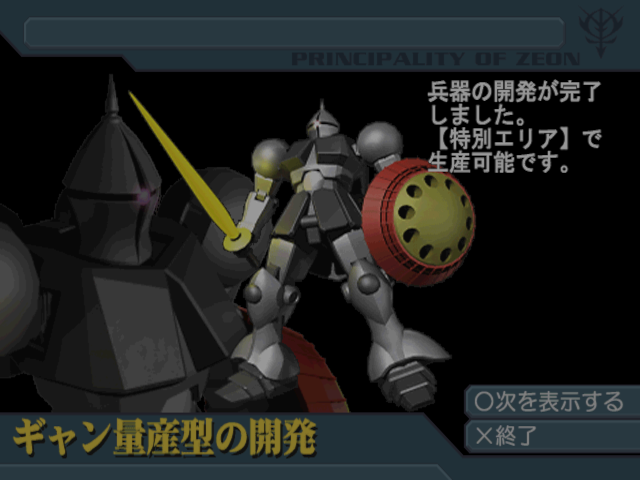
Now, a very important choice! In the Zeon campaign, you can choose to either follow the Gelgoog or Gyan tech tree. There’s a bit of rivalry there, as Gelgoog is produced by Zeonic and Gyan by Zimmad. While in canon Zeon went with the Gelgoog, I love Gyan far too much to pass up this opportunity.
uuuuuuuuu
qqqqqqqqqq
After pursuing the White Base, Ramba Ral calls to inform us that they are much stronger than expected, and asks for support in helping defeat them.
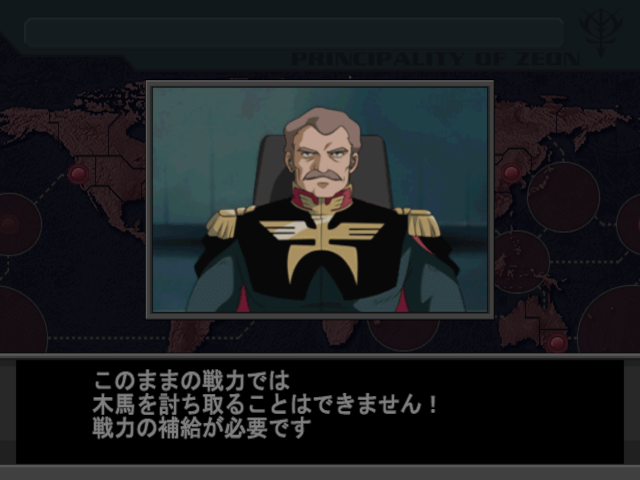
Ramba Ral: We cannot take down the Trojan Horse with our current strength! We need to resupply our forces.
Dozle makes the suggestion to send him some Doms. However, Kycilia objects to the idea.
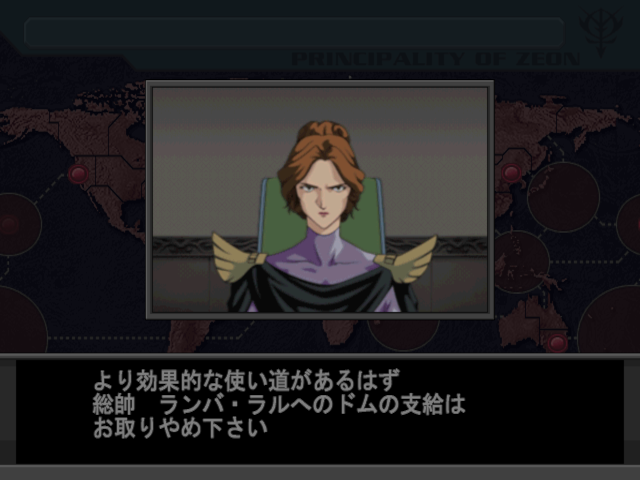
Kycilia: There must be a more effective use for them. Commander, please retract your dispatch of the Doms to Ramba Ral.
In another case of having the power of foresight thanks to having seen the anime, we know not sending Ramba Ral the Doms will result in his death. So once again we defy Kycilia and send Ramba Ral the support he needs.
So how much help can a few Doms be? Turns out, a LOT.
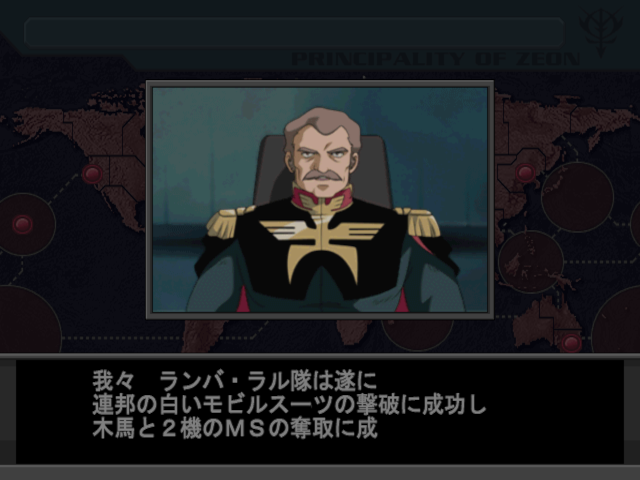
uuuuuuu
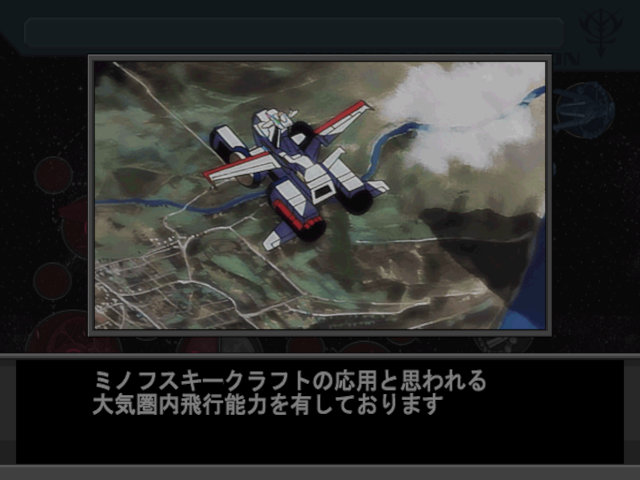
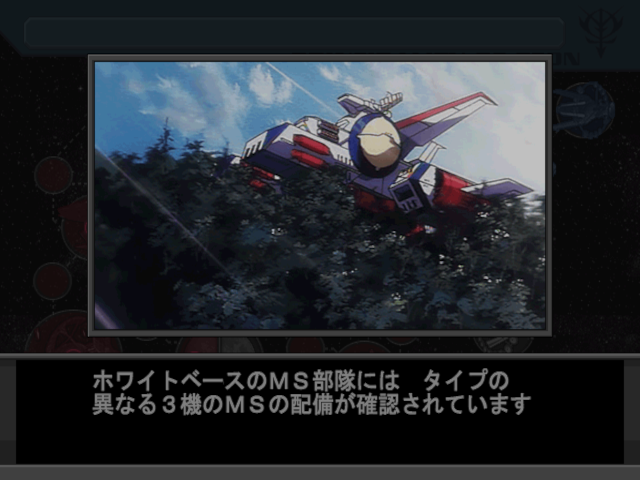
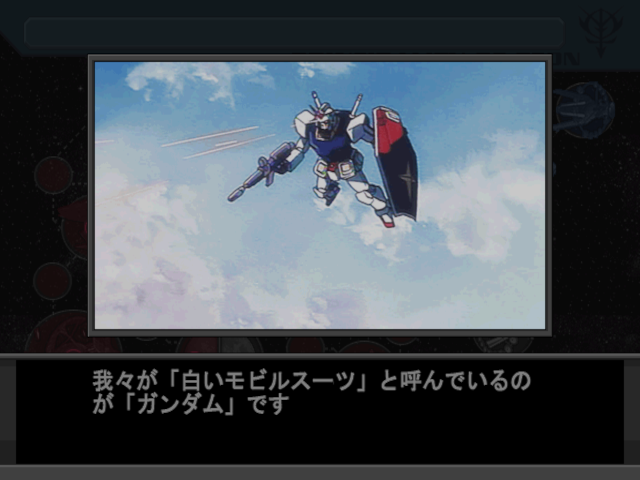
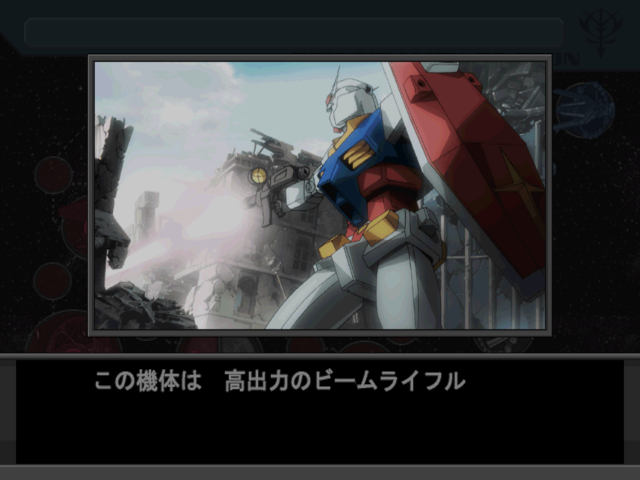
Ramba Ral informs us that not only was his team able to destroy the Gundam, but he captured Guntank, Guncannon, and even the entire White Base ship itself, though the crew escaped. Absolutely savage.
Perhaps thanks to the intel he acquired, we get a detailed report about Operation V.
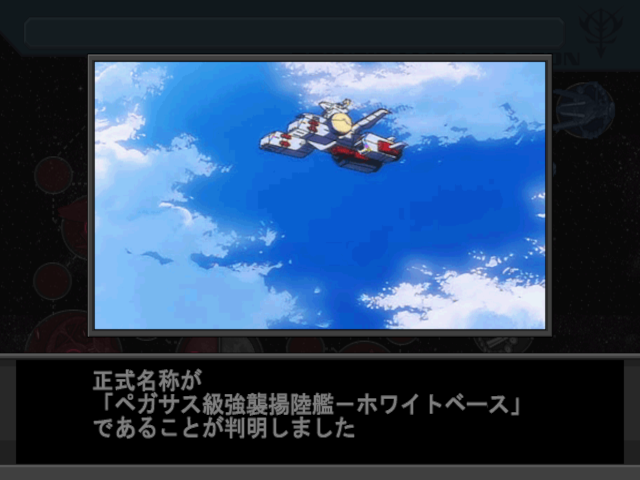
ppppppppp
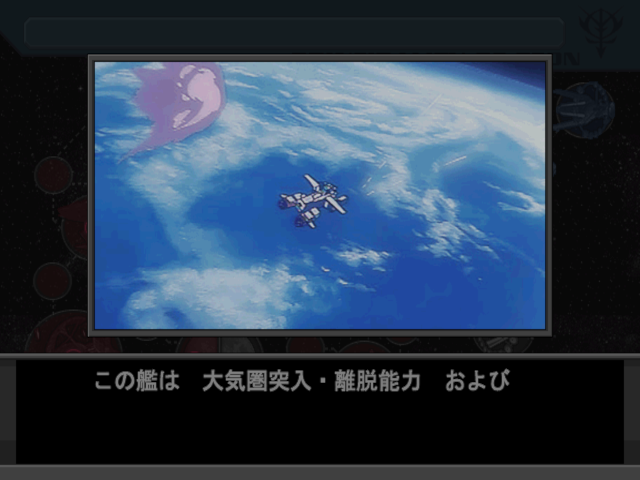
ooooooooooo
ppppppppp
pppppppp
ppppppp
pppppppppp
As for what happens to the White Base crew, they are essentially absorbed into the Federation army. Any more canon events with them (like their involvement in Odessa Day or Jaburo) will not happen.
Since Garma and Ramba Ral are both still alive (and thus Gihren can’t use their deaths to rally the people), we unlock the third option: releasing Gihren’s “Survival of the Selected” theory. This essentially functions the same as Garma’s funeral speech would have, in that in exchange for a morale boost we gain more chaos alignment. Since we’re trying to keep law alignment up (for purposes that will make sense at the end), a better alternative is just giving a regular speech as it does the same thing without the demerit.
By this point, the only remaining Federation controlled bases on Earth are Jaburo and Belfast, so the latter is our next target. They’ve built up quite a stronghold there in terms of the number of units, and some familiar faces appear…
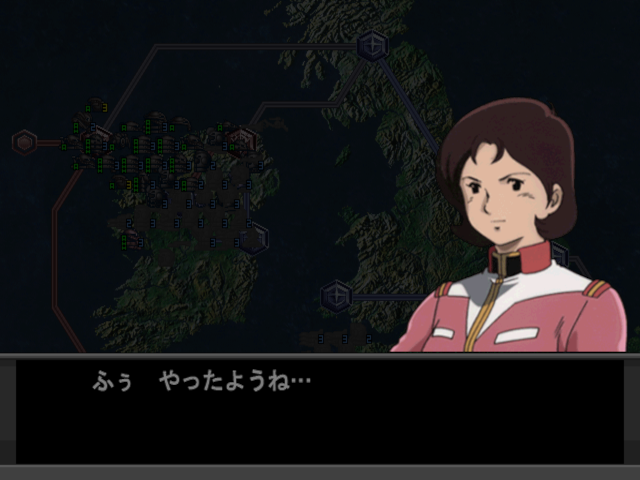
Mirai: Huh, looks they got me…
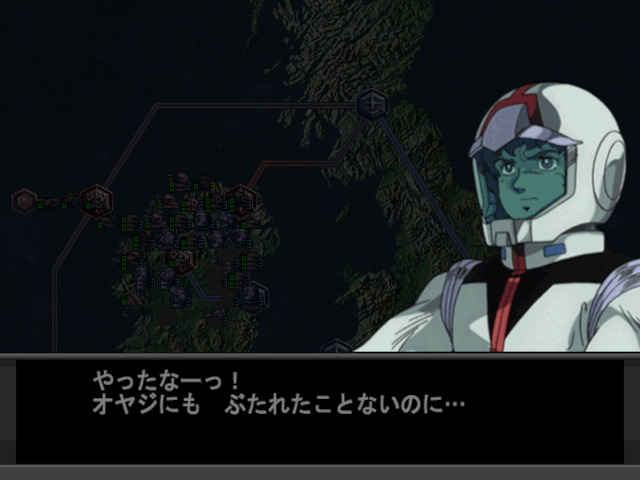
Amuro: Now you’ve done it! Not even my father hit me…
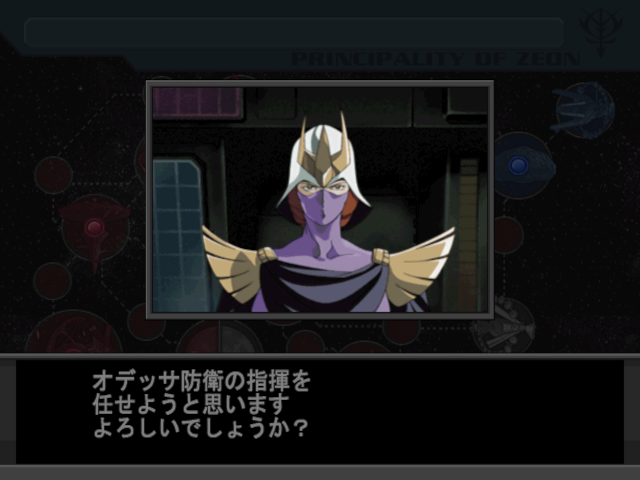
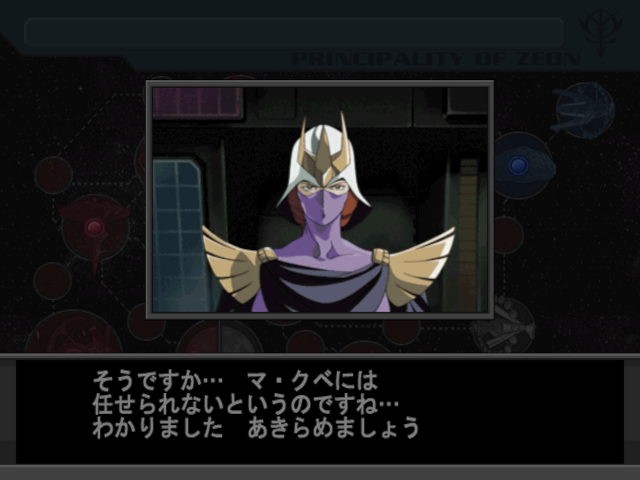
Continuing on. Though technically it shouldn’t be possible since Zeon now controls the entirety of the Earth outside of Jaburo, they are still going to launch an offensive against Odessa as they do in the anime. M’Quve calls to inform us of this, then Kycilia asks if we’ll allow him to command the forces there.
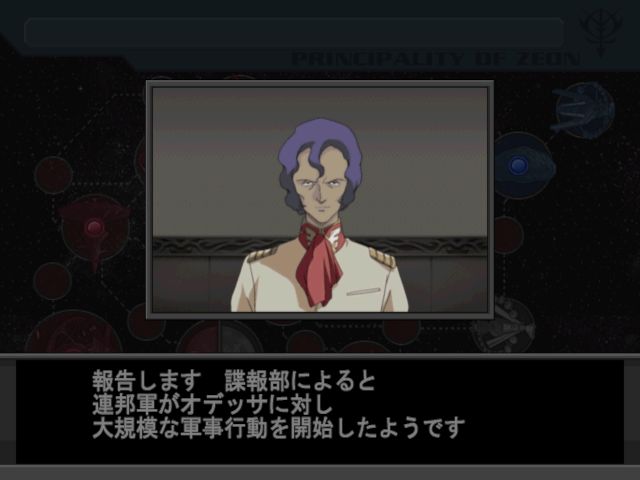
M’Quve: We report that, according to intelligence, Federation forces have launched a major military operation against Odessa.
pppppppppppp
Here’s the problem with that – letting M’Quve command the forces means he will attempt to launch a nuclear weapon against the invading Federation forces. Just like in the Federation campaign, this will wipe out half of the units on both sides, but then you’ll also have to deal with the matter of arresting him or not. All of these events make your alignment lower (more chaotic).
So once again we have to tell Kycilia no for the sake of not becoming too evil.
qqqqqqqqqqq
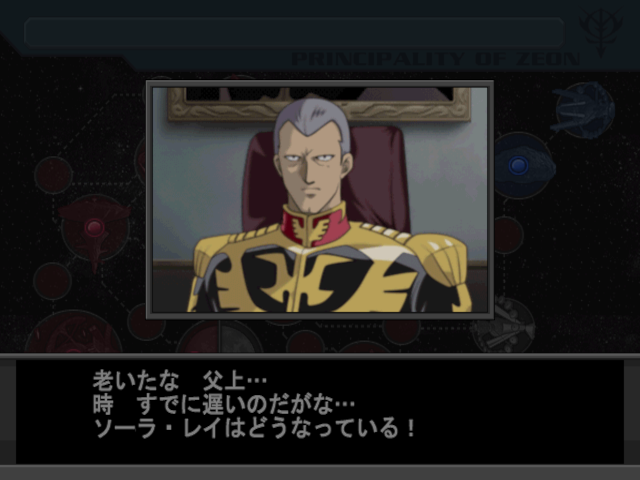
Meanwhile, it seems we might have messed up the chronology events a bit too much, as now intel comes in that the Federation is also gearing up for an attack on Solomon. Coincidentally the Solar Ray weapon is now ready to fire as well. However, there’s a problem…
qqqqqqq
pppppp
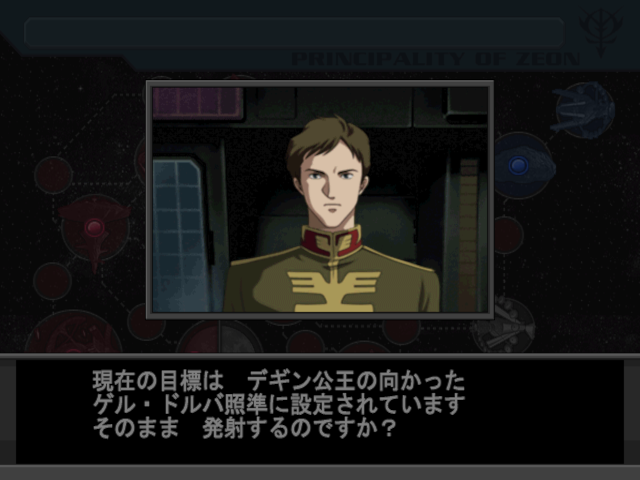
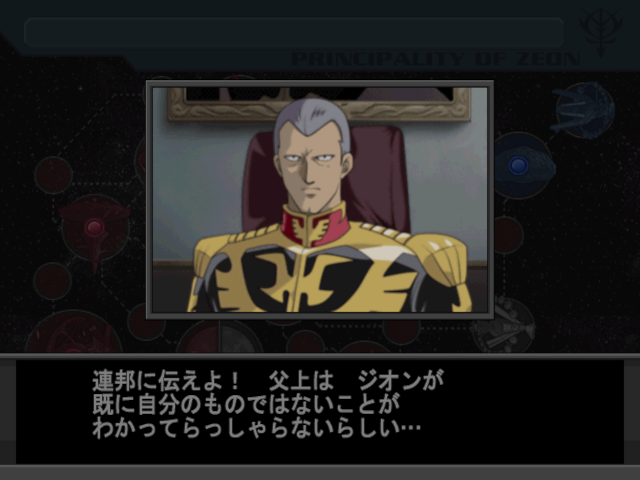
Degwin Zabi has secretly contacted General Revil of the Federation forces to arrange for peace talks. He’s headed to Gel Dorva, one of three preset targets of the Solar Ray, and where it is currently aimed. The Zeon officer in the screenshot above asks Gihren if he wants to fire the laser anyway, or change its target.
If you decide to fire at Degwin, 30% of the Federation fleet attacking Solomon is destroyed, and your alignment drops substantially. Kycilia then confronts Gihren, and you have the option to arrest her, or own up to it…in which case she shoots Gihren in the back of the head, and you get a historical bad end.
If you redirect the Solar Ray, it will destroy 50% of the Federation forces instead, however the attempted peace talks between Degwin and Revil cause the morale of all of your units to drop. Morale is easily restored through giving speeches and winning in battle though, so this is by far the safer option.
qqqqqqq
This is also a good time for me to discuss how Kycilia or Garma can form their own factions in this campaign.
If you shoot Degwin with the Solar Ray and choose to arrest Kycilia, and your alignment is below 50%, she will form her own faction called “Legitimate Zeon”. If you choose not to shoot Degwin, Garma is still alive, and your alignment drops below 30%, Garma will form “Reborn Zeon”. In both cases, you lose a chunk of territory and pilots/commanders, and have to fight them along with the Federation. One of the perks of this version of the game is both of these factions are scenarios we can play as later.
Anyways, it seems General Revil has teleported from space to his Big Tray on Earth because the Federation’s attack on Odessa begins, then shortly after they attack Solomon. Neither of these is much trouble since we were able to anticipate them.
There are multiple ways the One Year War can end for Zeon, depending on what events happen (or don’t happen). The following is what occurs if you halt the White Base storyline by sending Ramba Ral the Doms and decide not to use the Jaburo Invasion MS plan.
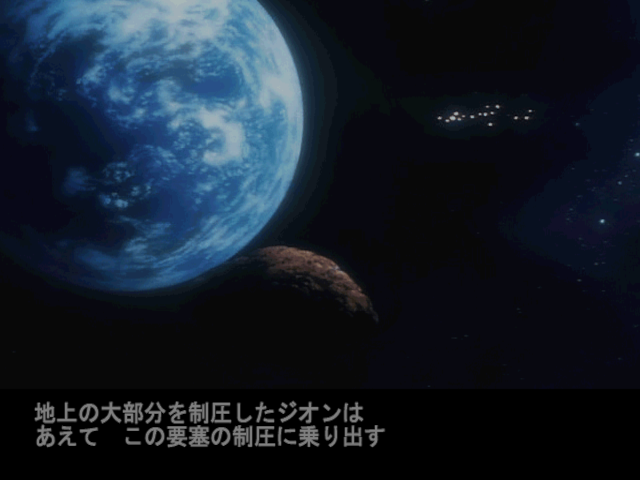
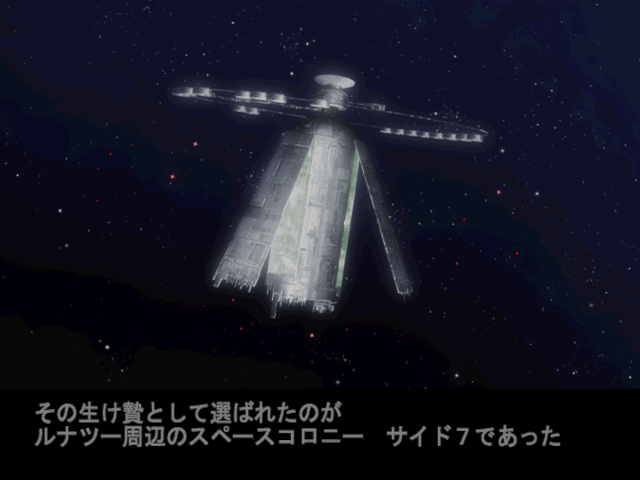
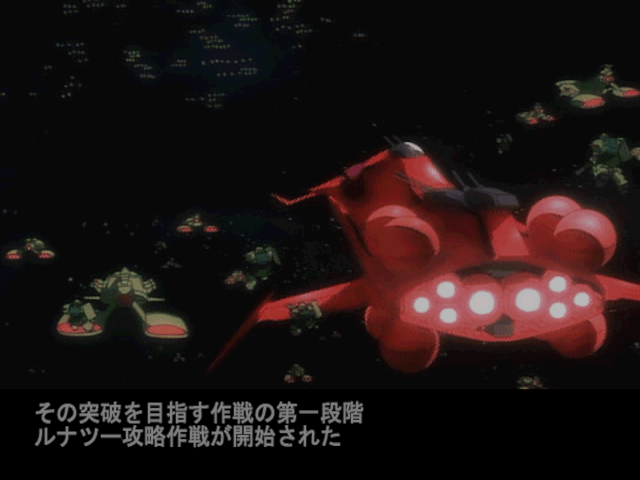
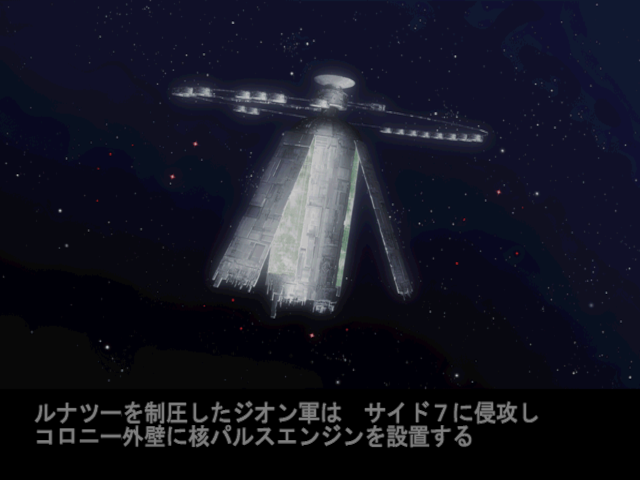
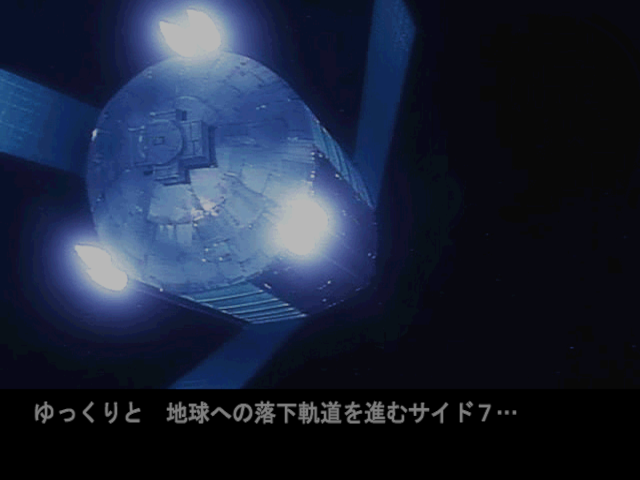
The next target is Luna II, which is the Federation’s last stronghold in space, but the real goal of this sequence of events is Operation British II. Once Luna II is captured, Zeon plans to use the only colony at Side 7 (which is now abandoned) in another colony drop attempt against Jaburo. The idea is that unlike their first attempt, the Federation is now too weak to alter its course like in the first Operation British.
wwwwww
ppppp
qqqqqq
qqqqqqqqqq
To facilitate this plan, Delaz (who is very gung-ho about this whole thing) and Gato have stationed three nuclear weapon equipped Zakus at Side 3. As you can probably guess however, using nuclear weapons is a bad idea and will lower our alignment with literally every shot. Thankfully you can just ignore them or repurpose the Zakus.
Anyways, on to the battle. Did I mention I built some Big Zams?
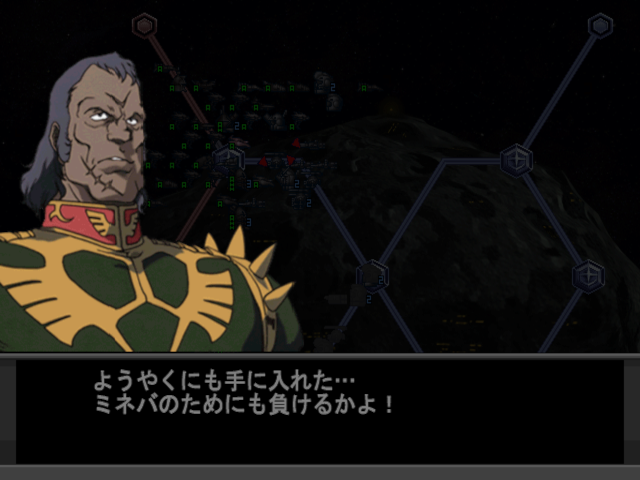
Dozle: I finally have it in my grasp… for Mineva’s sake as well, I can’t lose!
They’re ridiculously powerful, as you might expect. When the main laser is fired, it wipes through multiple layers of enemy units at once in a straight line. We built one for both Dozle (of course) and Gihren and they proceeded to wreck everything in their path.
On a more somber note…
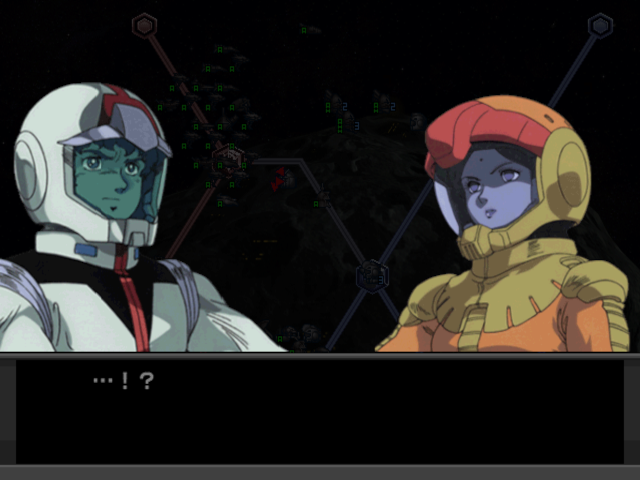
Amuro: ..!?
Lalah: Who…who is this?
Amuro: Who is it…? Who is watching me?
While trying to get the Amuro-Lalah interaction I accidentally stumbled upon one with him and Marion as well.
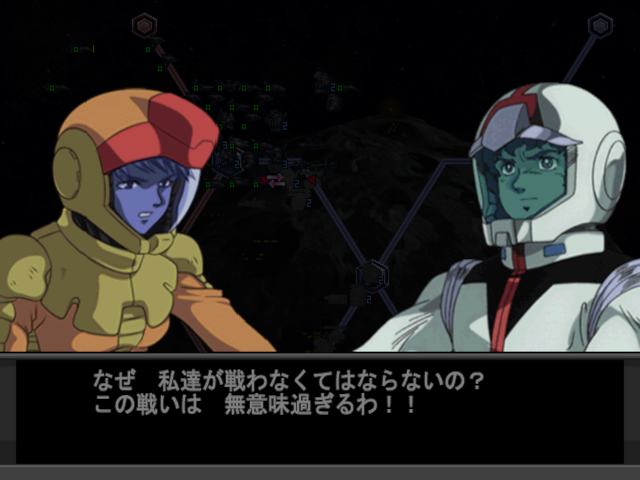
Marion: Why do we have to fight? This war is so pointless!!
Amuro: I understand! But it has to be done if we are to survive!
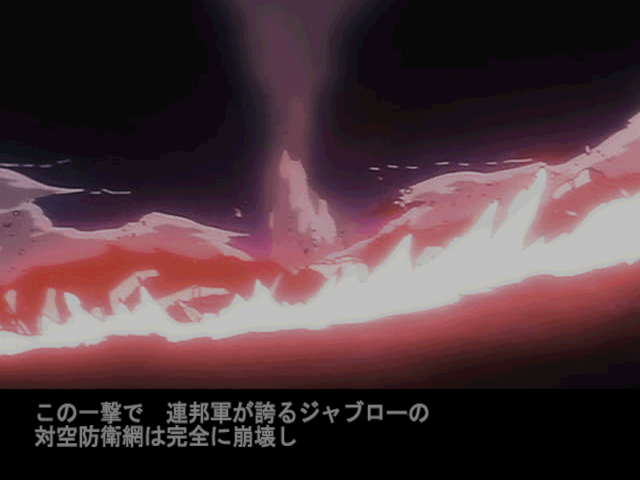
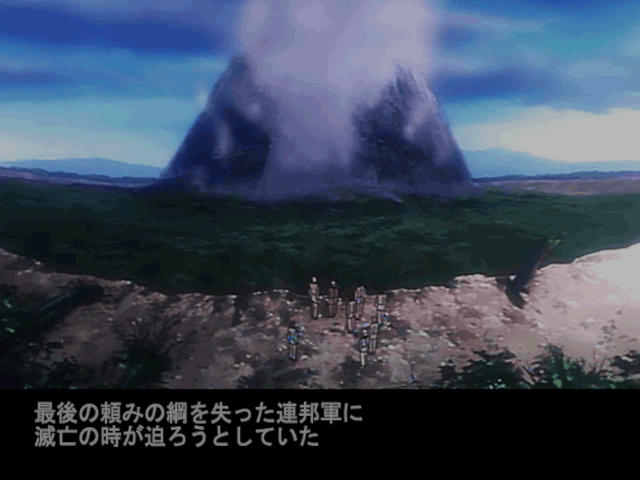
With Luna II captured, nothing is stopping the initiation of Operation British II. As I mentioned previously, because of the chain of events followed in this playthrough, we don’t have a choice but to drop the colony. It’ll make our alignment more chaotic, but will also destroy half of the Federation’s units at Jaburo, which right now is their entire remaining army.
wwwwww
ppppppp
eeeeeeeee
qqqqqqq
All that’s left now is to finish off the remaining Federation units.
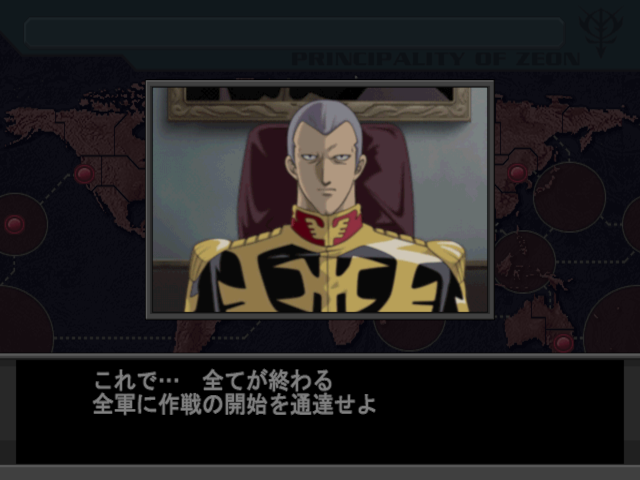
pppppp
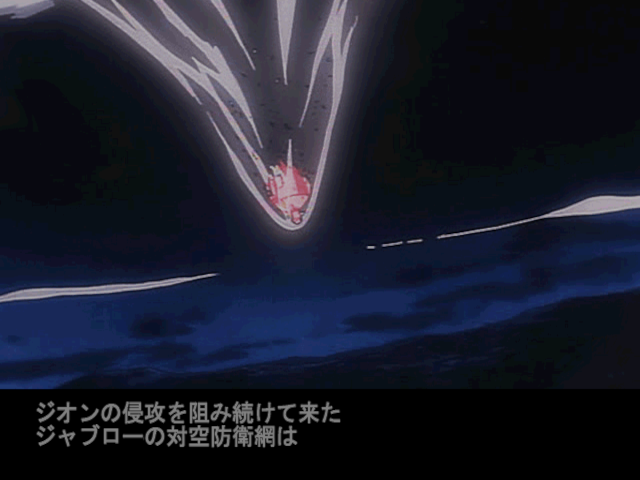
qqqqqqqqqqqq
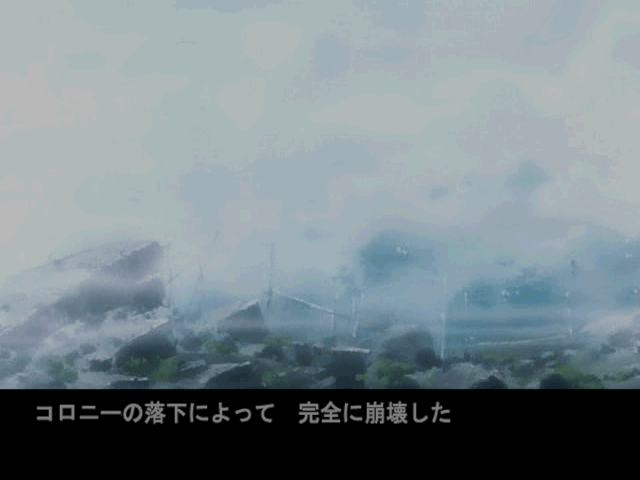
qqqqqqqq
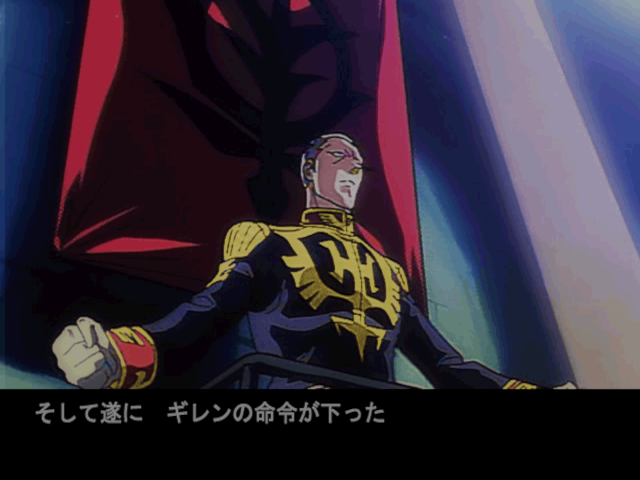
pppppppp
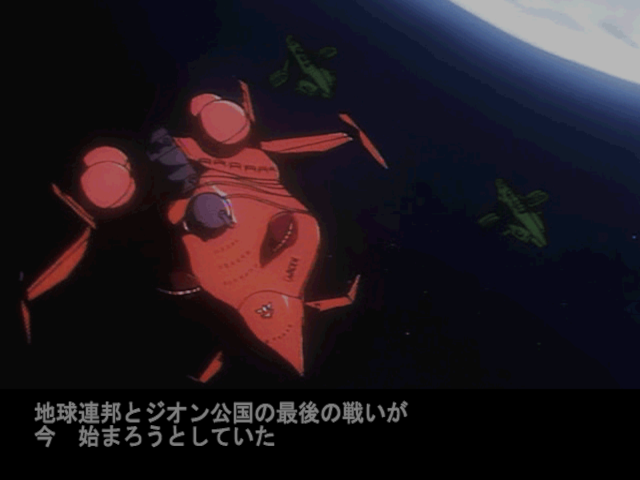
ppppppp
We throw everything we have on Earth at Jaburo, a mix of ground, air, and aquatic units from all sides. After all, this is the Federation’s last stand, and there’s no reason for either side to hold back.
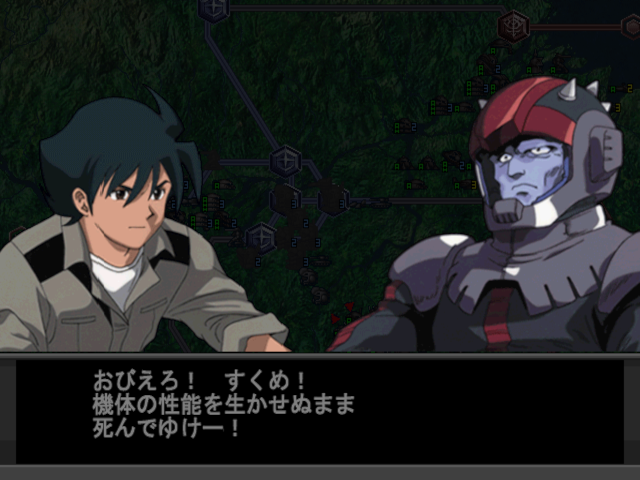
Noris: Be afraid! Cower! Die without being able to take advantage of your suit’s performance!
Shiro: This enemy is different from any others we’ve faced! If you defend, you will lose! Attack!
Shiro isn’t the only one here, though. One after another, each White Base member falls…
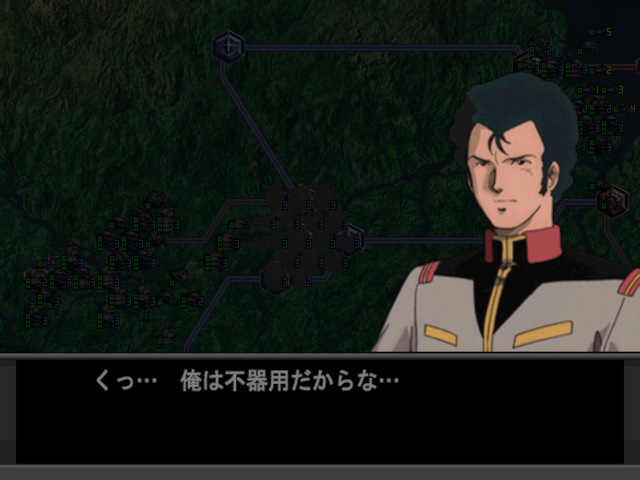
Bright: Damn…Because of my incompetence…
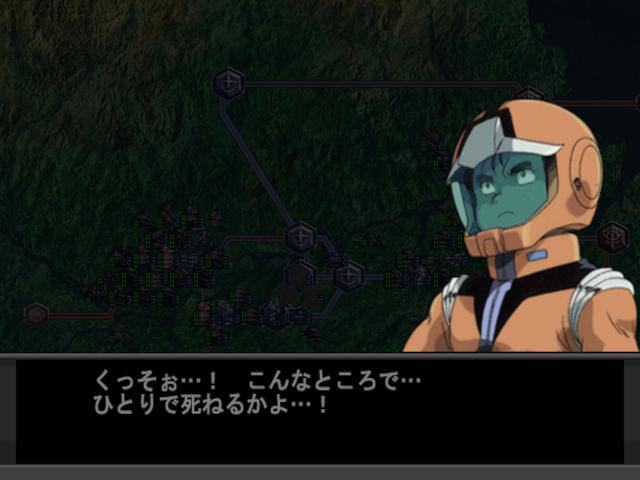
Hayato: Shit…! Am I really going to die alone in a place like this…!
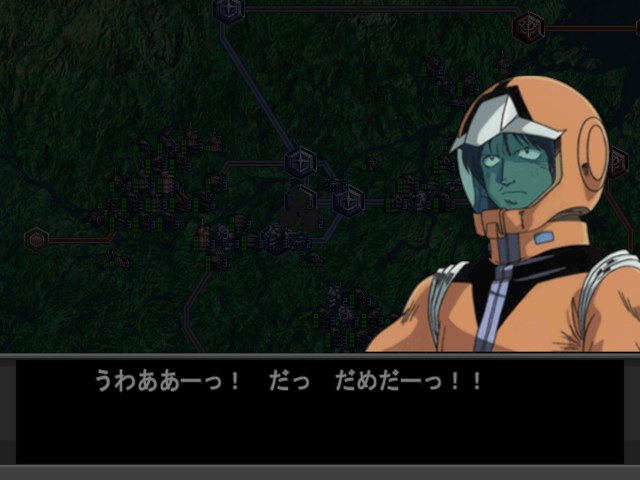
Kai: Uwaa! It’s no use!!
And with that, the Federation is defeated. Zeon has emerged victorious in the One Year War.
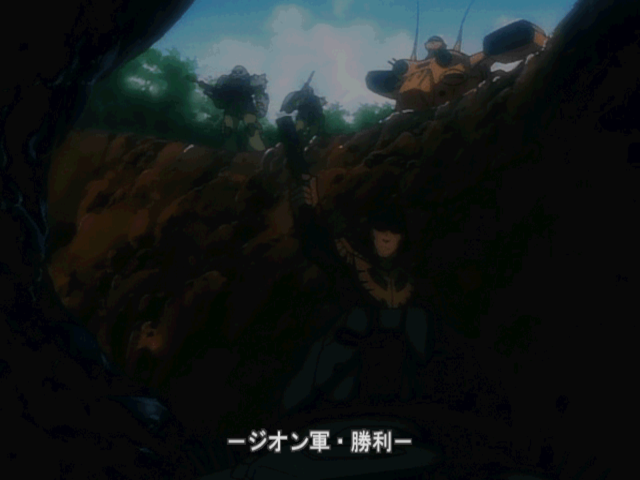
Zeon Army Victory
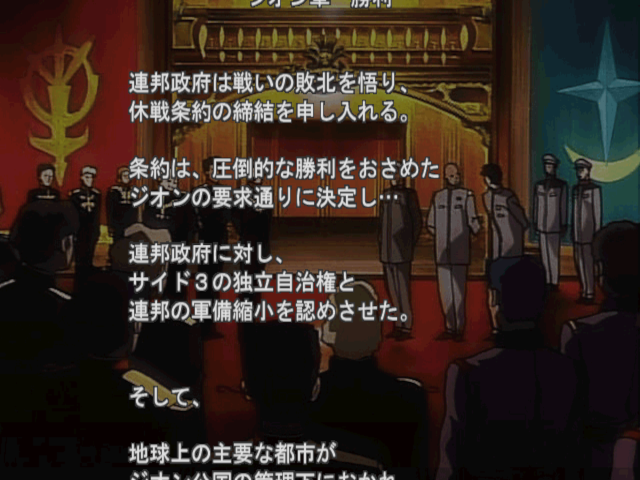
The Federation Government realized that the war had been lost and proposed an armistice treaty.
The treaty was decided as requested by Zeon, who had won with an overwhelming victory…
They forced the Federation Government to recognize Side 3’s independence and autonomy, and reduced the Federation’s armaments.
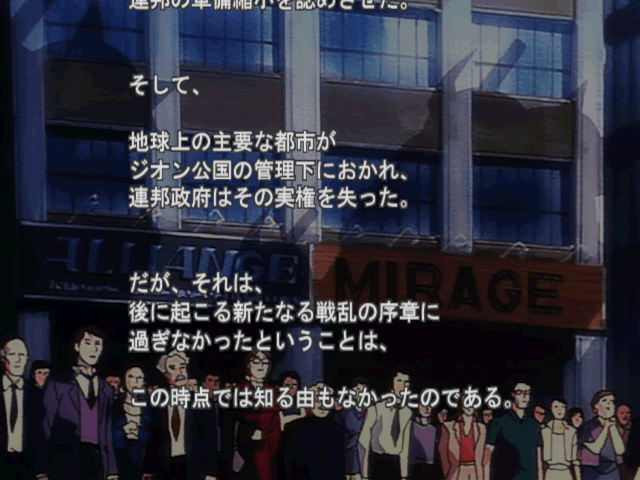
Also, the major cities on Earth were placed under the control of the Principality of Zeon, and the Federation Government lost its authority.
However, the fact that this was just the beginning of a new war on the horizon –
At this point, there was no way to know.